To capture stunning underwater photos in your residential pool, guarantee your equipment is waterproof and stabilized with handles or braces. Set your camera to a fast shutter speed around 1/250 sec, use wide apertures, and control ISO carefully. Use diffused underwater lighting for even illumination and position lights at different angles. Keep water clear by maintaining good pool hygiene. For sharp, vibrant images, manage water quality and experiment with angles; more tips await if you keep exploring.
Key Takeaways
- Use waterproof housing and proper lenses to protect gear and capture diverse perspectives.
- Optimize camera settings with fast shutter speeds, wide apertures, and appropriate ISO for clarity and sharpness.
- Employ diffused underwater lighting, positioning strobes or LED lights to minimize shadows and glare.
- Maintain water clarity by regularly balancing chemicals, removing debris, and running filtration systems.
- Post-process images to correct color, enhance sharpness, and improve overall vibrancy for professional results.
Choosing the Right Equipment for Pool Photography
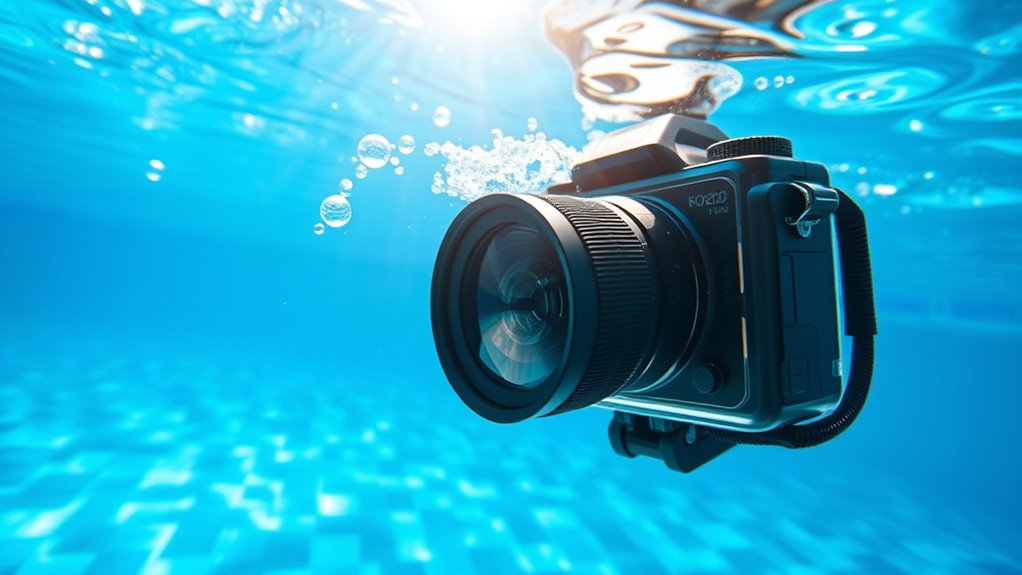
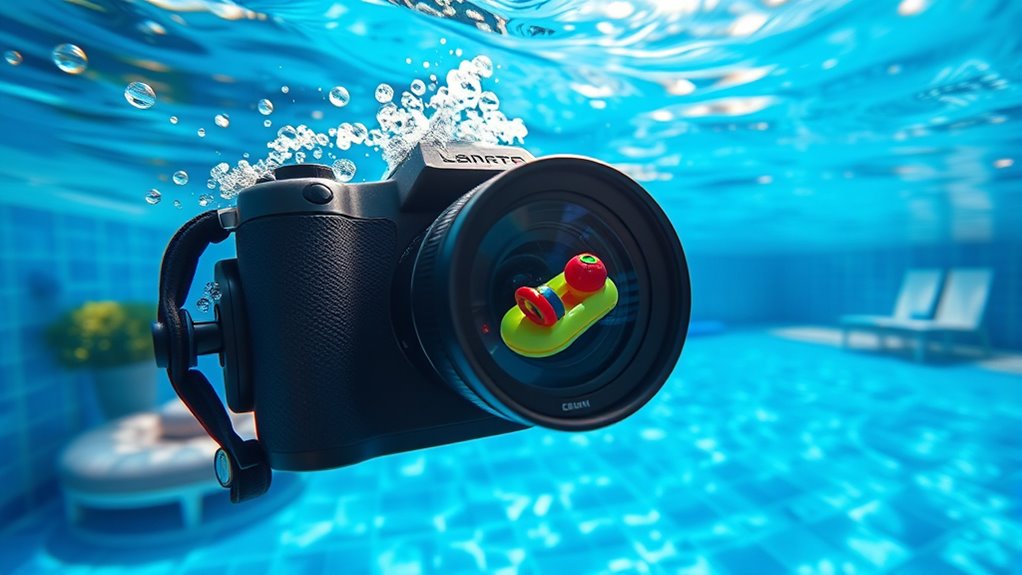
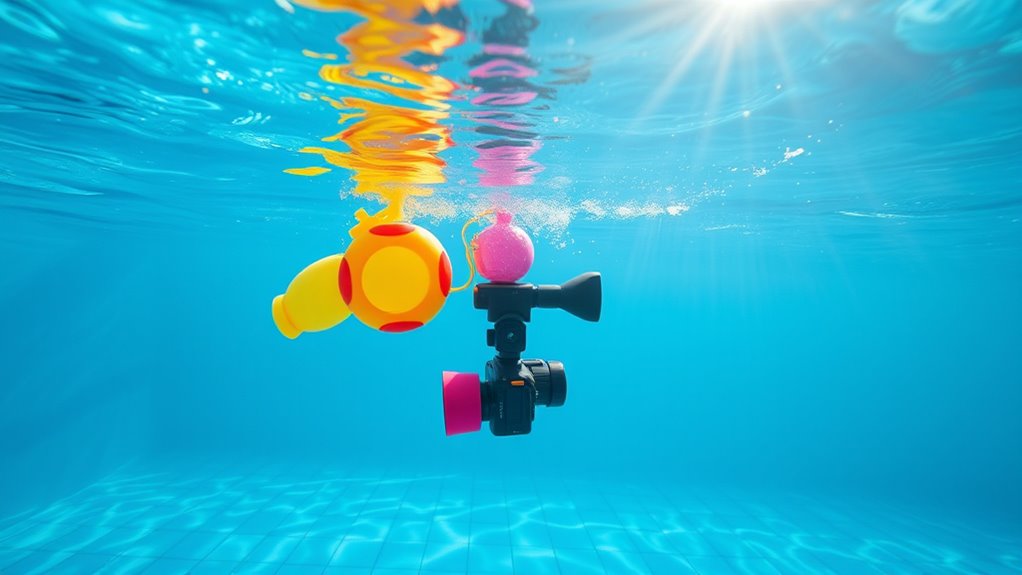
Choosing the right equipment is essential for capturing sharp, vibrant pool photos. Start with a camera that offers good underwater capabilities—either a waterproof compact or a DSLR with an underwater housing. Make certain your lens is suitable for close-up shots and wide-angle scenes to capture the full pool environment. A sturdy, waterproof housing protects your gear from water damage and allows easy access to controls. Consider using a polarizing filter to reduce glare and reflections on the water’s surface. Use a tripod or stabilizer to keep your shots steady, especially in low-light conditions. Don’t forget extra batteries and memory cards, since underwater shoots can drain power quickly. Having reliable, appropriate equipment makes it easier to focus on capturing stunning, crisp images without technical worries. Proper gear selection also helps in managing gadget performance, ensuring your equipment functions optimally under water.
Mastering Camera Settings for Underwater Shots
Once you’ve selected the right equipment, mastering your camera settings can make a significant difference in the quality of your underwater photos. To get sharp, vibrant images, focus on these key adjustments: 1. Set a fast shutter speed (around 1/250 sec) to freeze motion and reduce blur. 2. Use a wide aperture (like f/2.8 or f/4) to let in more light and create a pleasing background blur. 3. Adjust the ISO to balance exposure—start with ISO 400 and increase only if needed for low light. Additionally, understanding fatherhood and the importance of support can inspire patience and focus when capturing the perfect shot. Recognizing the family dynamics involved in any environment can help you anticipate moments worth capturing and improve your overall technique. Incorporating automation in business principles can also streamline your workflow, allowing more time for refining your photography skills. A solid understanding of camera settings can further enhance your underwater photography results.
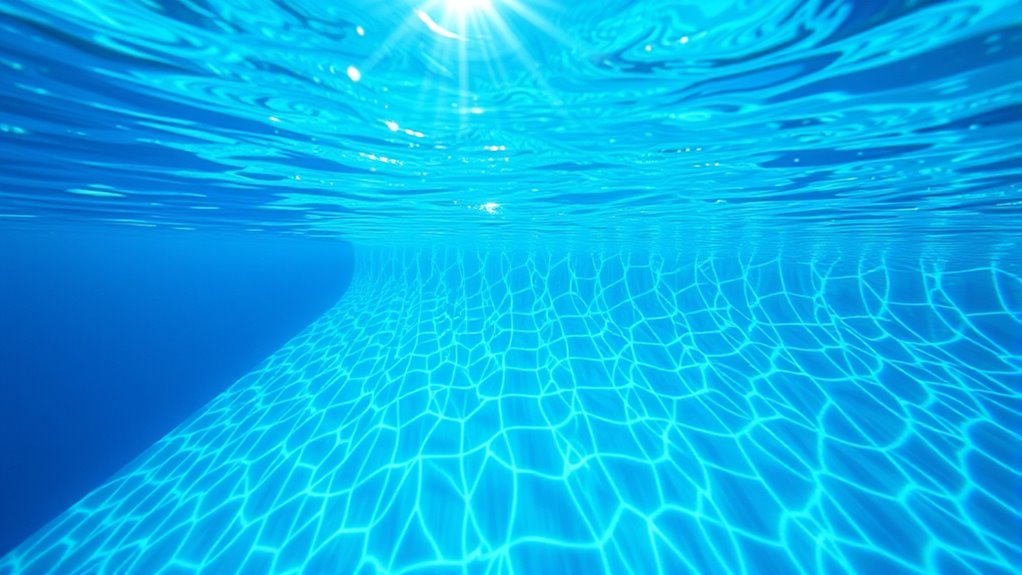
Ensuring Proper Lighting Underwater
Proper lighting is essential for capturing clear, vibrant underwater images. In a residential pool, ambient light can be limited, so you need to supplement it effectively. Use underwater strobes or waterproof LED lights to illuminate your subject evenly. Position lights at different angles to reduce shadows and highlight details. Avoid harsh direct light that can cause glare or overexposure; instead, opt for diffused lighting to create a soft, natural look. If sunlight is available, shoot during midday when the light is strongest and least likely to cast unwanted shadows. Keep the pool’s water clear and clean to maximize light penetration. Adjust your lighting setup as needed, testing different angles and intensities, ensuring your images are bright, balanced, and true to life. Incorporating proper lighting techniques can significantly enhance your underwater photography results.
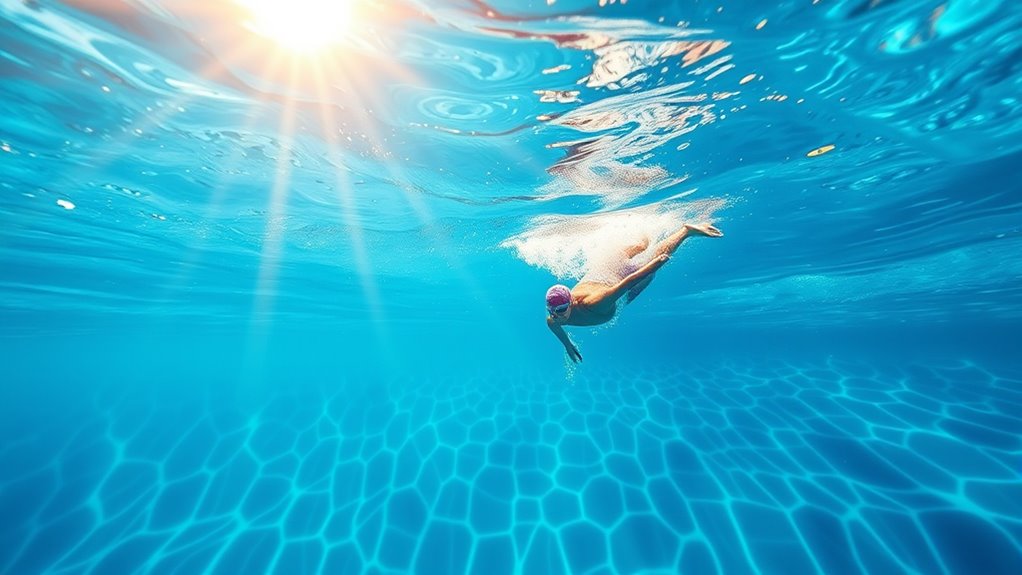
Techniques for Clear and Sharp Images
To achieve clear and sharp underwater images, you need to stabilize your camera and control your focus effectively. This prevents motion blur and ensures your shots are crisp. First, hold your camera steady by bracing against the pool wall or using both hands. Second, set your autofocus to continuous mode to keep moving subjects sharp. Third, use a fast shutter speed—at least 1/250 second—to freeze motion and reduce blur. Additionally, consider using a waterproof housing with a grip or handle for added stability. By following these steps, you’ll minimize camera shake and focus issues, resulting in clearer, more professional-looking photos. Remember, stability and focus control are essential for capturing the vibrant details underwater. Contrast ratio also plays a crucial role in ensuring your images have proper depth and clarity, especially in varying lighting conditions. Maintaining proper exposure settings is equally important to prevent images from appearing overexposed or underexposed underwater. Moreover, understanding the lighting conditions within your pool environment can help you adjust your camera settings for optimal results. Properly managing camera stability is vital for achieving sharp images and capturing the true colors of underwater scenes. Additionally, being aware of photo composition techniques can help you frame your shots more effectively for captivating underwater photographs.
Posing and Composing Your Subjects

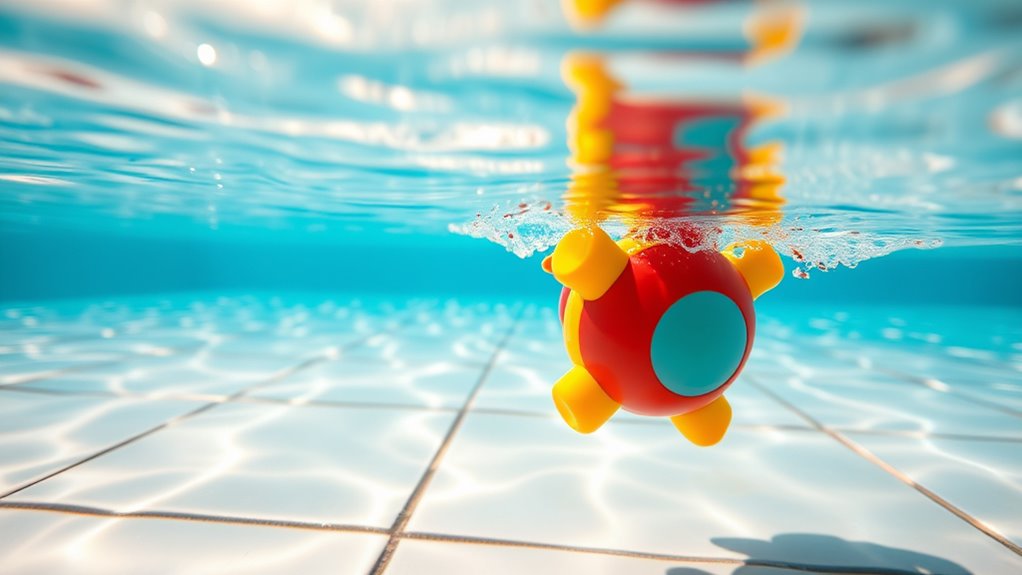
Capturing compelling underwater photos depends heavily on how you pose and compose your subjects. To create dynamic images, guide your subjects to adopt natural, relaxed poses that highlight their expressions and movements. Think about framing; place your subject off-center using the rule of thirds to add interest. Use the pool’s features, like walls or steps, to enhance composition and create leading lines. Keep your subject’s face or focal point toward the light to avoid shadows and ensure clarity. Communicate clearly with your models to capture genuine expressions and avoid stiff poses. Remember, a well-composed shot balances elements and guides the viewer’s eye through the image, making your photos more engaging and visually appealing. Additionally, understanding composition techniques can significantly improve the overall quality of your underwater shots. Proper lighting conditions are also crucial for capturing clear and vibrant images underwater. Adjusting your camera settings to match the water clarity can help reduce haziness and improve color accuracy. Being aware of narcissistic behavior, such as projecting insecurities or manipulating the environment, can help you maintain focus and adapt your approach to challenging situations. Developing an awareness of subject positioning can further optimize your shot composition and improve visual impact.
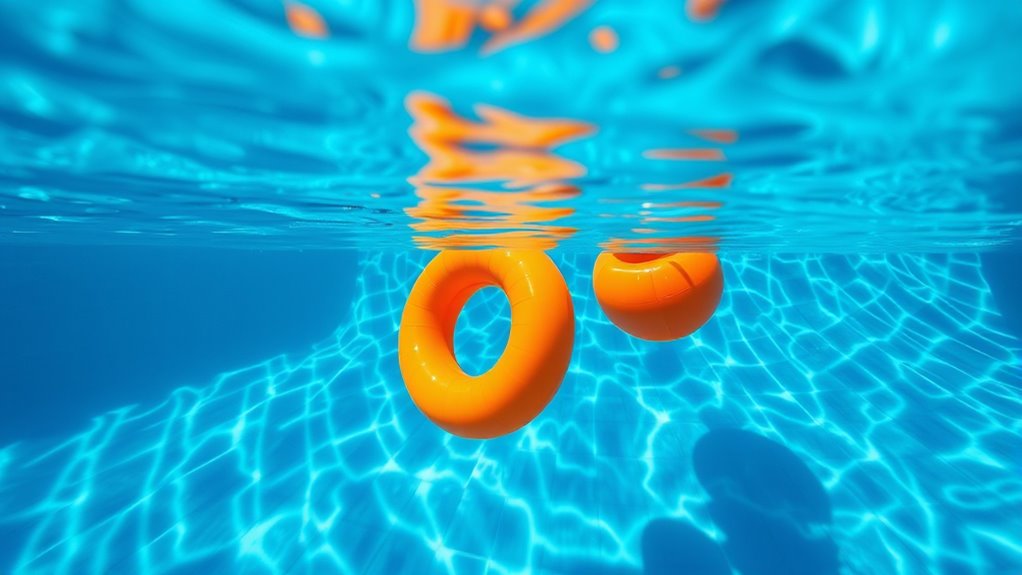
Managing Water Clarity and Pool Environment
You can improve your photos by enhancing water transparency and removing debris from the pool. Clear water makes your subjects stand out and reduces unwanted particles in your shots. Keeping the environment clean guarantees your images stay sharp and professional-looking. Additionally, ensuring the pool’s water quality is maintained can prevent issues like algae growth, which can compromise image clarity. Regularly checking and balancing chemical levels helps maintain optimal water conditions for clearer photographs. Proper filtration and circulation systems also contribute to indoor air quality that supports a cleaner pool environment, indirectly benefiting water clarity. Incorporating rendering lard in maintenance routines can help with waterproofing and sealing pool surfaces, contributing to overall cleanliness. Promoting special events and themed breakfasts into your community activities can also promote awareness of pool safety and maintenance practices among residents.
Enhancing Water Transparency
Maintaining clear water is essential for stunning underwater photos, as murky or cloudy conditions can obscure your subject and diminish image quality. To enhance water transparency, focus on these three key steps:
- Regularly balance pool chemicals to prevent algae growth and cloudiness.
- Use a fine mesh or pool vacuum to remove particles and debris from the water.
- Circulate water properly with your pump and filter system to keep it fresh and clear.
- Incorporate proper lighting techniques to improve visibility and highlight water clarity in your photos.
Controlling Pool Debris
Controlling pool debris is essential for maintaining water clarity and creating ideal conditions for underwater photography. Regularly skim the surface with a net to remove leaves, insects, and floating debris before shooting. Keep the pool clean by brushing the walls and vacuuming the bottom to prevent dirt buildup that can cloud the water. Maintain proper filtration and run the pump consistently to filter out fine particles. Consider using a pool cover when not in use to reduce debris accumulation. Clear water is key for sharp, vibrant photos, so addressing debris promptly ensures your images are crisp and clear. Additionally, understanding the importance of water clarity can help you maintain optimal conditions for stunning underwater shots. Proper filtration systems are crucial for removing small particles that can diminish image quality. By proactively managing debris, you create a pristine environment that highlights your subject and enhances the overall quality of your underwater shots.
Post-Processing Tips for Enhancing Pool Photos
Once you’ve captured your pool photos, enhancing them with proper post-processing makes a big difference. Adjusting the color balance helps bring out the true vibrancy of the water and surroundings, while sharpening the image improves overall clarity. Focus on these key edits to make your underwater shots look crisp and lively.
Adjust Color Balance
Adjusting the color balance is essential for bringing out the true vibrancy of your pool photos. It helps correct color casts caused by water, lighting, or camera settings, making your images look natural and lively. To do this effectively:
- Adjust the white balance to remove unwanted color tints, ensuring whites appear neutral.
- Boost the blues and cyans to enhance the water’s clarity and appeal.
- Reduce reds and yellows if the image looks overly warm or muddy.
Use sliders or presets in your editing software to fine-tune these adjustments. Remember, subtle shifts often produce the best results. Proper color balance transforms dull, washed-out pictures into vibrant, inviting pool scenes that truly pop.
Enhance Sharpness and Clarity
Enhancing sharpness and clarity is essential for making your underwater pool photos stand out. After capturing your shots, use editing software to fine-tune details. Start by increasing sharpness slightly to bring out textures and edges without overdoing it, which can introduce noise. Adjust the clarity slider to enhance mid-tone contrast, making your image appear more defined and vibrant. Be cautious with dehazing tools—they can add depth but may also introduce artifacts. Use local adjustment brushes to sharpen specific areas, like swimmers or pool features, while keeping the background soft. Finally, review your image at 100% zoom to ensure your edits improve clarity without sacrificing natural look. Properly enhanced sharpness and clarity will make your underwater pool photos much more striking and professional.
Frequently Asked Questions
How Can I Prevent Water Spots From Ruining My Underwater Shots?
Water spots can ruin your underwater shots, but you can prevent them easily. Before diving, make sure your lens is thoroughly clean and free of smudges. Use a lens cloth or a microfiber towel to wipe it gently. Consider applying a lens coating or anti-fog solution to repel water. When shooting, avoid splashing water directly onto the lens, and frequently check and wipe it for clear, stunning photos every time.
What Are the Best Times of Day for Pool Photography?
You’re wondering when the best times of day are for pool photography. You’ll get the best results during early morning or late afternoon when the sunlight is softer and more diffuse. During these times, you avoid harsh shadows and glare, making your shots clearer and more vibrant. Plus, the golden hour light adds warmth and depth to your images, creating stunning and inviting underwater scenes.
How Do I Avoid Disturbing the Pool’S Water Balance?
To avoid disturbing the pool’s water balance, you should plan your photography sessions carefully. Check the water chemistry beforehand and wait until the pool’s chemicals are balanced. Avoid adding any chemicals right before shooting. Use minimal equipment to reduce disturbance and avoid excessive movement. Additionally, schedule your photos when the pool is less used, such as early mornings or weekdays, to prevent stirring up debris and maintaining water clarity.
Can Underwater Filters Be Used With Standard Camera Equipment?
You ask if underwater filters work with standard camera equipment. Generally, you can’t use typical filters underwater because water distorts light and affects image quality. Instead, you should invest in specialized underwater filters designed for your camera housing. These filters help control reflections and color balance, improving your shots. Always check compatibility with your specific housing and camera model to guarantee the filters function properly underwater.
How Do I Protect My Camera From Pool Chemicals?
Think of your camera as a delicate swimmer needing a life jacket. To protect it from pool chemicals, always use a waterproof housing designed for your camera. Rinse the housing with fresh water after each use, and avoid submerging it in chlorinated water directly. Regularly inspect seals for damage, just like checking a lifeguard’s whistle, ensuring your camera stays safe and ready to capture your underwater moments.
Conclusion
With the right equipment, techniques, and a little patience, you can capture stunning underwater pool photos that truly stand out. Did you know that over 80% of professional underwater images are achieved through careful planning and skillful post-processing? Keep experimenting with your shots and enjoy the creative process. Remember, every great shot brings you closer to turning your poolside moments into engaging works of art. Immerse yourself and start capturing unforgettable underwater memories today!