Cleaning your electronic cigarette quickly is easy if you follow these steps. Start by disassembling your vape, removing the mouthpiece and tank. Soak the glass and metal parts in a mix of warm water and isopropyl alcohol for a few hours. Use a brush and Q-tips to scrub away residue, paying attention to the coil and battery connections. Rinse all parts thoroughly and let them air dry completely. Once everything is dry, reassemble your device securely. Regular maintenance will keep your vape performing well and enhance flavor. Want to refine your cleaning routine even further? There's more to explore!
Key Takeaways
- Disassemble the vape by detaching the mouthpiece, tank, and coil to access all components for thorough cleaning.
- Soak glass and metal parts in warm water mixed with isopropyl alcohol for quick residue removal.
- Use a soft-bristled brush and cotton swabs with rubbing alcohol to scrub stubborn buildup in tight spaces.
- Rinse all components under warm tap water, ensuring no residue or e-liquid remains before drying.
- Air dry all parts completely before reassembly to prevent leaks and ensure optimal performance.

Cigtrus Quit Smoking Aid – Natural Smokeless Inhaler – Non-Electric, Nicotine-Free & Travel-Safe – Replace The Vape – 4-Flavor Variety Pack
Quit Smoking Support – Designed to replace the physical habit and oral fixation without nicotine, tobacco, or harmful...
As an affiliate, we earn on qualifying purchases.
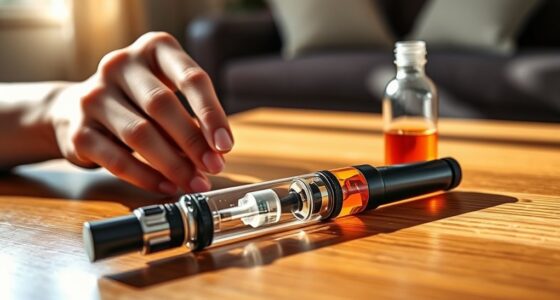
Disassembly and Preparation

Disassembling your vape is the first step in giving it a thorough clean. Start by detaching the mouthpiece from the vape pen. If your device has a detachable tank, remove it from the battery.
Next, take apart the tank into its components: the lower and upper base, airflow control ring, glass, O-rings, and mouthpiece. Carefully remove the atomizer and coil from the tank, ensuring you don't lose any small parts like the metal mesh inside the cartridge.
Once you've disassembled everything, gather your cleaning materials. You'll need a small bowl of water, a brush, Q-tips, and paper towels. Prepare some cleaning solutions like isopropyl alcohol, vinegar, or a baking soda and lemon juice mix. Regular cleaning helps to ensure optimal flavor and vapor quality, making your vaping experience more enjoyable.
Use cotton swabs or pipe cleaners to reach tight spaces, and have a microfiber cloth or paper towels handy for drying.
Keep in mind safety precautions: avoid exposing electronic components to water, and make sure the coil is cool before you start. Organize all parts on a clean surface, using a small container for components that need special care.
This way, you'll streamline your cleaning process and avoid losing any critical pieces.

3 Pack of Assorted Flavors (9 Cores) - Non-Electronic Nicotine-Free, Tobacco-Free Refills for Flavored Air Device Smokeless Inhalers, Stop Smoking, Stop Vaping Aid
Assorted flavors included are Sparkling Grapefruit, Crisp Mint, and White Cranberry. These desirable blends are a completely safe...
As an affiliate, we earn on qualifying purchases.
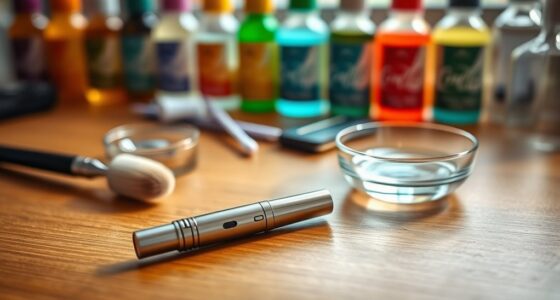
Soaking Solutions
When it comes to cleaning your vape parts, soaking solutions play a crucial role in breaking down grime and residue. Warm water is a great base for soaking, especially when you mix it with other cleaning agents. Isopropyl alcohol is a go-to choice for effectively cleaning glass and steel components; in fact, you can let those parts soak overnight for best results.
If you're dealing with tougher residues, try creating an alternative soaking solution by mixing vinegar and baking soda. Dish soap added to warm water can also help remove greasy machine oil and metal shavings. Remember, the longer you soak, the easier the cleaning will be. Regular cleaning of devices (1-2 times a month) helps to prevent buildup of dirt and liquid.
For a non-toxic option, ZEUS Purify multipurpose cleaning solution works well for plastic parts. Ultrasonic cleaners combined with warm water and dish soap can efficiently tackle tough grime too.
After soaking, rinse everything thoroughly with warm water to remove any leftover solution. Lastly, ensure you dry all components properly to avoid damage. Regular cleaning, ideally once or twice a week, will keep your vaporizer performing at its best.

Cigtrus Stop Smoking, Smokeless Air Inhaler, Non Electric Quit Vaping Aid, Nicotine and Vape Free Diffuser Pen – Lemon Lime Menthol 3Pack
Quit Smoking Support – Designed to replace the physical habit and oral fixation without nicotine, tobacco, or harmful...
As an affiliate, we earn on qualifying purchases.
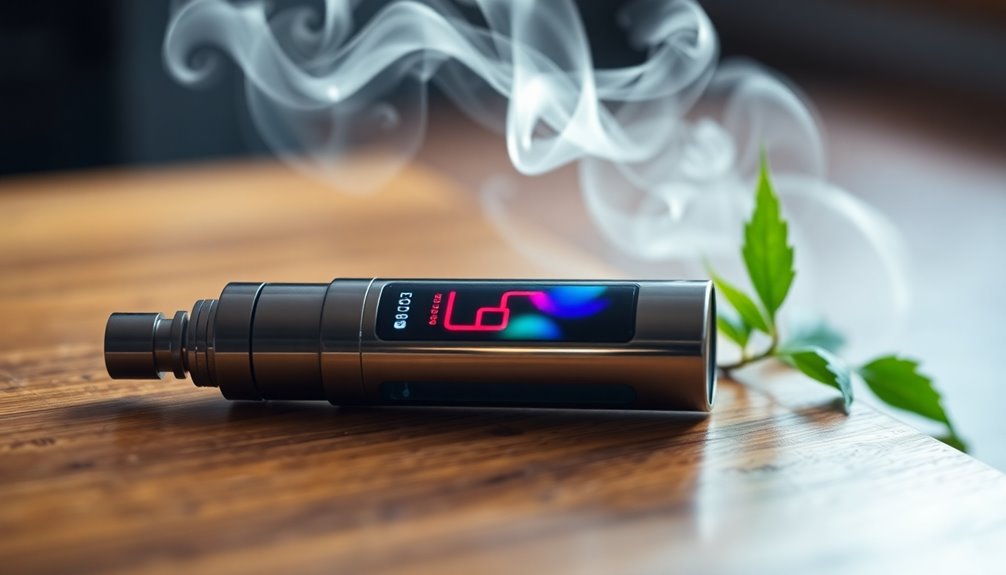
Scrubbing Techniques
Using the right scrubbing techniques can significantly enhance the cleanliness of your vape components. Start by gathering essential tools like a small brush or toothbrush with soft bristles to tackle stubborn residue. These brushes are perfect for intricate designs or small crevices.
For tight spaces, cotton swabs or Q-tips are invaluable, while pipe cleaners excel at cleaning narrow vapor paths. When you notice visible buildup, gently scrub those areas with a cleaning brush dipped in isopropyl alcohol. Regular cleaning ensures optimal device functionality, which is crucial for a satisfying vaping experience.
For delicate parts, use a cotton swab with rubbing alcohol to clean the 510 connection, ensuring proper contact. You can also blow out dust from intricate areas using a small air blower.
If you're working with rebuildable atomizers, remove cotton wicks and dry burn the coils to eliminate gunk. Just remember to rinse the coils between dry burns.
Regularly clean post holes to avoid issues with hot legs or jumping resistances. With these scrubbing techniques, you'll maintain optimal performance and extend the life of your vape components.
Regular upkeep is key, so make it part of your routine!

4 Pcs Chewable Essential Oil Breath Stick for Quit Smoking & Vaping - Stop Smoking Aid that Works, Oral Fixation Relief, Non-Nicotine Vapor Alternative, Portable Diffuser Oil Chewable Breather
Effective Smoking Cessation Support: Scientifically designed chewable breather stick helps combat nicotine cravings. Proven stop smoking aid for...
As an affiliate, we earn on qualifying purchases.
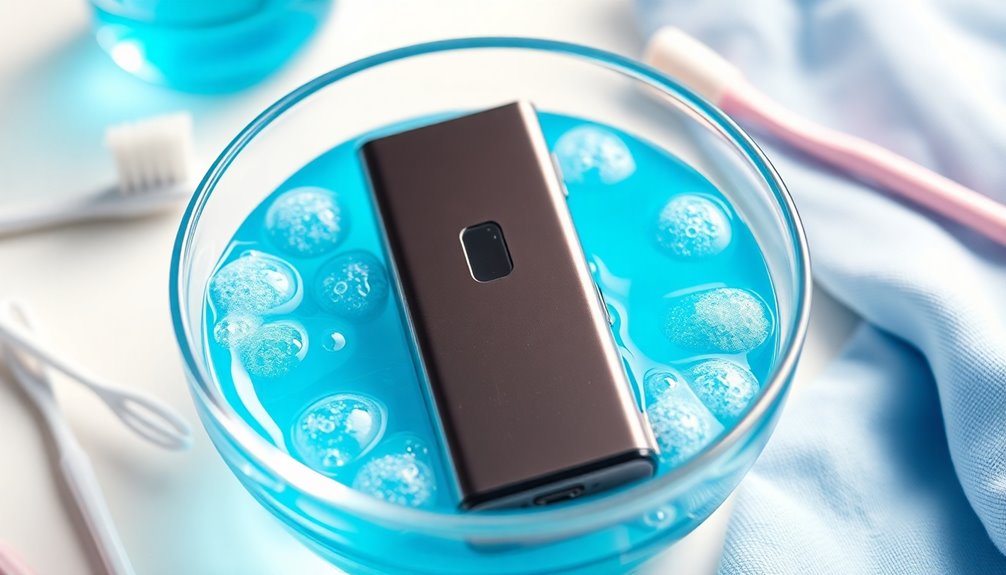
Rinsing Procedures

Rinsing your vape components is crucial for maintaining their performance and longevity. Start by soaking the tank components in a bowl of warm water for a few minutes. This helps loosen any residue. Regular cleaning can prevent respiratory health issues associated with unclean devices.
After soaking, rinse all parts under a warm tap to remove leftover e-liquid and debris. Don't forget to rinse the mouthpiece and other parts to prevent bacterial buildup. Make sure you remove all bubbles during the rinsing process.
For an extra clean, consider using propylene glycol (PG). Soak the vape tank in PG for one to two hours to maintain flavor while removing residue. After the soak, let the tank stand on a napkin to drip dry.
If you need a deeper clean, household items like baking soda, vinegar, or dish soap work well. Mix a cleaning agent with warm water, soak the components, and rinse them thoroughly afterward to eliminate any residual taste. Regular cleaning helps to ensure optimal performance of your vape device.
Finally, if you've heated coils, dismantle the tank and dip the heated coil into water to remove residue. Rinse it with clear water and use a toothbrush or cotton bud for hard-to-reach areas, ensuring everything is clean before you move on.
Drying and Reassembly

After thoroughly cleaning your vape components, it's essential to dry them properly before reassembly. Start by using paper towels to blot out any excess moisture from all parts. Make sure to allow the components to air dry completely in a well-ventilated area. Avoid using heat, as it can damage sensitive parts. Pay attention to any lint or fibers left behind from the paper towel, as these can interfere with the device's performance. Before you begin reassembling, double-check that every component is completely dry, especially in crevices and corners. Follow the manufacturer's instructions for reassembly to ensure everything fits snugly and securely, preventing leaks or misfires. Additionally, ensure you have performed proper maintenance by inspecting connectors and coils for any residue or damage; this step is crucial for optimal performance. Once reassembled, conduct a dry run by firing the vape pod to confirm that all electrical components function correctly. Look for any leakage or misfires, and ensure the device is free from sticky spots. Testing the flavor and performance will help you verify that your cleaning efforts were successful, setting you up for a satisfying vaping experience.
Maintenance Tips

Maintaining your vape is crucial for ensuring a smooth and enjoyable experience. Start by disassembling your device according to the manufacturer's instructions. Remove all removable parts, including mouthpieces, screens, and chambers, and empty the tank of any remaining juice. Set the coil aside for later cleaning.
Prepare your cleaning materials, such as water, isopropyl alcohol, vinegar, and soft-bristled brushes. Wearing thick rubber gloves is essential to protect your hands from harsh chemicals. Soak the removable parts in a mixture of equal parts isopropyl alcohol and water for about 30 minutes, or use a vinegar solution for 10-15 minutes. Regular cleaning enhances vapor quality and flavor, which is essential for a satisfying vaping experience.
After soaking, rinse the tank and parts under warm water. Gently scrub the interior and exterior with a soft brush or cotton swab, paying special attention to the battery's connection areas and air pathways. For stubborn stains, consider using a baking soda paste.
When it comes to coil maintenance, soak it in ethanol or vinegar and perform a light dry burn to remove liquid residue. Always check the coil for damage before reassembly, replacing it if necessary.
Regular upkeep will keep your vape functioning optimally.
Frequently Asked Questions
Can I Use Vinegar on All Vaporizer Parts?
You can't use vinegar on all vaporizer parts. It's great for removable components like mouthpieces and screens, but avoid it on wood or delicate surfaces, as it can cause damage.
Always dilute vinegar with water for cleaning. Soak the parts for about 10-15 minutes, but check your manufacturer's guidelines first.
After cleaning, rinse thoroughly and let everything dry completely before reassembling to keep your vaporizer functioning well.
How Often Should I Clean My Vape?
You should clean your vape every 10–15 sessions or at least every couple of weeks if you use it regularly.
If you notice a decline in vapor quality or flavor, clean it more often.
For infrequent users, a monthly clean is usually enough, while daily users might need to clean every few days.
Regular maintenance not only enhances your vaping experience but also extends the life of your device.
Keep it clean for optimal performance!
What Should I Do if My Vape Smells Bad?
If your vape smells bad, start by disassembling it to check for residue or buildup in the tank and coil.
Clean each part thoroughly with isopropyl alcohol, warm water, or a specialized cleaner.
Inspect and replace the coil if it looks burnt or discolored.
Don't forget to clean the mouthpiece to eliminate bacteria.
Lastly, ensure everything is completely dry before reassembling your vape to prevent any lingering odors.
Regular maintenance can help avoid future issues.
Is It Safe to Use Bleach for Cleaning?
Using bleach for cleaning isn't safe. It can release toxic fumes, especially when mixed with ammonia or acids, creating harmful gases.
You risk skin irritation and respiratory issues if you're not careful. Additionally, bleach can damage various surfaces, including metals and certain plastics.
It's best to opt for safer, more suitable cleaning alternatives that won't pose health risks or damage your items. Always prioritize safety when choosing cleaning products.
Can I Clean My Vaporizer With Water Only?
You can't rely on water alone to clean your vaporizer effectively. While it might seem convenient, water can damage electrical components and won't remove stubborn residues.
Instead, opt for isopropyl alcohol for metal and glass parts. For wooden and plastic elements, warm water with mild soap works best.
Always make sure to dry all parts thoroughly after cleaning to maintain vapor quality and prevent any buildup that could affect your device's performance.
Conclusion
By following these simple steps, you can keep your vape clean and functioning smoothly. Regularly disassembling and using the right soaking solutions will help eliminate residue, while scrubbing ensures every corner is spotless. Don't forget to rinse thoroughly and let everything dry before reassembling. With a little maintenance, your e-cigarette will not only taste better but also last longer. Happy vaping, and enjoy the fresh flavors from your well-maintained device!