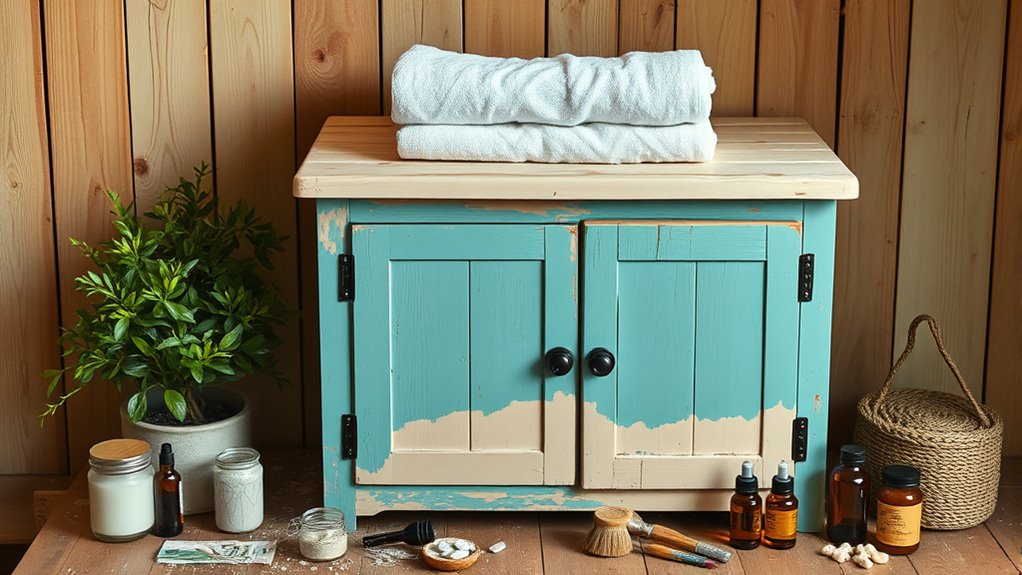
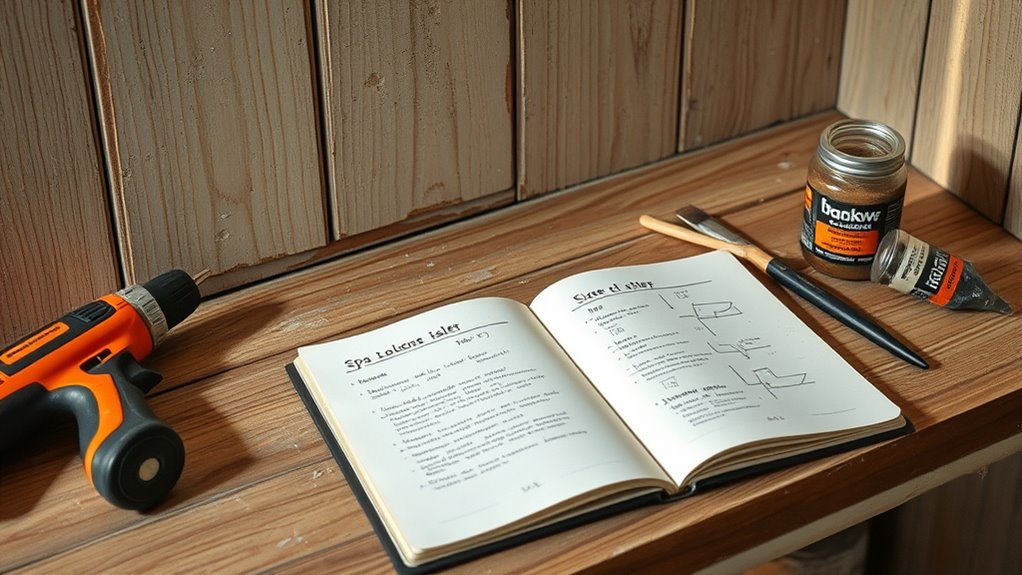
To refurbish your spa cabinet yourself, start by evaluating its condition and planning your approach. Gather necessary tools, like screwdrivers, sandpaper, and paint, and remove old hardware and finishes carefully. Repair any chips or scratches, then sand and prime the surface for a smooth result. Choose waterproof paint or stain, apply it evenly, and finish with new hardware and decorative touches. Keep going, and you’ll discover tips to help you achieve a professional-looking transformation.
Key Takeaways
- Assess existing damage, clean surfaces, and sand rough edges for optimal adhesion of new finishes.
- Gather essential tools, safety gear, and compatible paints or stains before starting repairs.
- Carefully remove old hardware and finishes to create a smooth, clean surface for refurbishment.
- Repair surface damages with suitable fillers, then prime, paint, or stain for a seamless look.
- Replace or upgrade hardware and add decorative touches for a polished, personalized final appearance.
Assessing Your Spa Cabinet’s Condition and Planning Your Project
Before you begin refurbishing your spa cabinet, it’s essential to assess its current condition thoroughly. Examine the wood or material for signs of damage, such as cracks, warping, or rot. Check for loose or missing hardware, hinges, and handles. Look for peeling paint, stains, or water damage that might require special attention. Consider the overall stability—does the cabinet wobble or feel unstable? Take note of areas needing repairs or reinforcement. Planning your project starts with understanding what needs fixing and how extensive the work will be. Decide if you’ll sand everything down, replace hardware, or add protective finishes. Making a detailed assessment helps you set realistic goals, gather necessary supplies later, and avoid surprises during the refurbishing process. Additionally, inspecting the material’s integrity can help determine whether it can withstand the refinishing process or if replacement is necessary. Recognizing the extent of damage is crucial to choosing the most effective repair strategies and ensuring the longevity of your refurbishment. A thorough evaluation of your surface’s coating and finish can also help you select appropriate stripping and refinishing techniques to achieve a smooth, durable final look. Moreover, understanding the overall condition of the cabinet can help you decide whether a complete overhaul or simple repairs are more appropriate, saving time and resources. Understanding the cookie categories involved in your project can also ensure you select appropriate protective finishes and cleaning agents, safeguarding your workspace and health.
Gathering Necessary Tools and Materials for Refurbishing
Once you’ve assessed your spa cabinet and identified the repairs needed, gathering the right tools and materials sets the foundation for a smooth refurbishing process. Start with basic supplies like a screwdriver, putty knife, sandpaper, and a clean cloth. You’ll also need paint or stain suitable for waterproof surfaces, primer, and a clear sealant to protect your work. Consider safety gear such as gloves, goggles, and a mask to prevent irritation. If you plan to replace hardware or fixtures, gather new handles, hinges, or fittings beforehand. Having everything on hand avoids delays and keeps your project organized. Double-check that your materials match the surface type and finish you want to achieve. Proper preparation guarantees your refurbishing effort is efficient and results in a professional-looking upgrade. Additionally, reviewing portable camping options like lightweight tents and power sources can inspire innovative storage solutions or auxiliary features for your spa cabinet project. When selecting tools, consider professional-grade equipment to ensure durability and precision during your refurbishing tasks. To further enhance your project, researching surface preparation techniques can help ensure your paint and stain adhere properly and last longer. Moreover, understanding the aromatherapy oils that promote relaxation can guide you in choosing finishes or accessories that create a calming environment in your space.
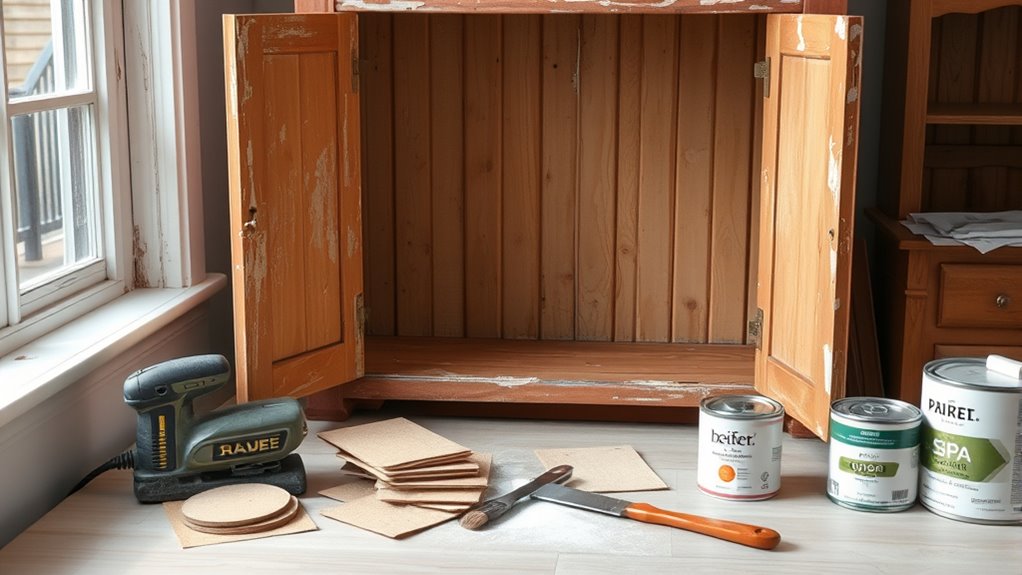
Removing Old Hardware and Surface Finishes
To effectively prepare your spa cabinet for refinishing, start by removing old hardware and surface finishes. Use a screwdriver to carefully detach handles, knobs, and hinges. Keep these parts in a safe place for reinstallation later. Next, strip the existing finish using a chemical paint remover or a heat gun, depending on the surface. Follow the manufacturer’s instructions carefully to avoid damage. Use a putty knife to gently scrape away peeling paint or varnish, and sand the surface to smooth out any rough spots. Wear gloves and a mask to protect yourself from fumes and dust. Removing these elements thoroughly guarantees a clean, smooth surface, which is essential for a professional-looking refurbish and long-lasting results. Additionally, ensure you take into account the effectiveness of surface preparation to achieve optimal results and prevent issues like peeling or uneven finish. Proper surface cleaning prior to refinishing can significantly improve adhesion and durability. Paying attention to industry trends can also help you choose the best finishing techniques for a durable, attractive result. Incorporating the right tools and materials can further streamline the process and enhance the overall outcome.
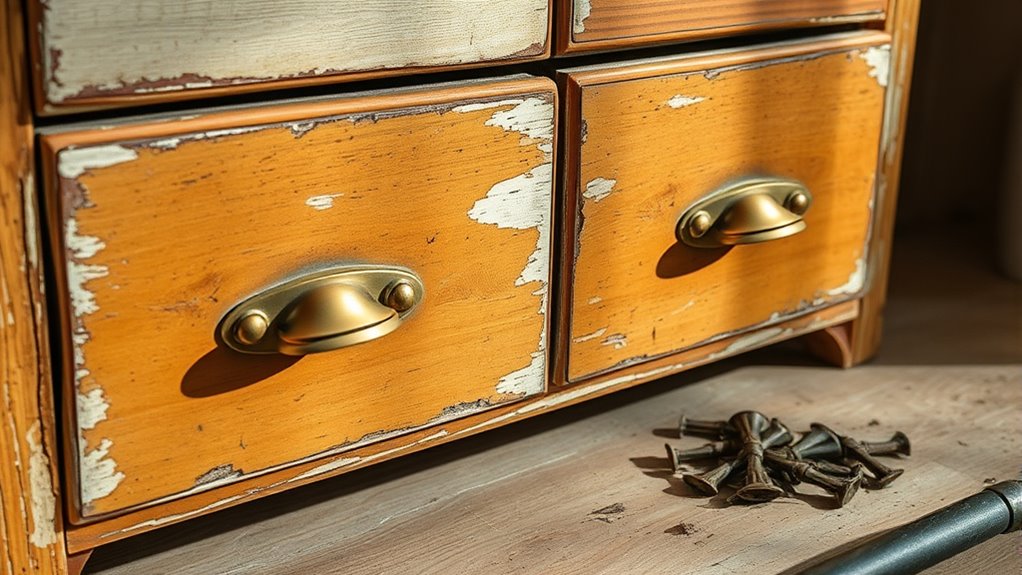
Repairing Chips, Scratches, and Damaged Areas
To effectively repair chips, scratches, and damaged areas, start by preparing the surface properly, cleaning and sanding it to ensure smoothness. Choosing the right repair materials, like wood filler or touch-up paint, is vital for seamless results. With the right surface prep and materials, your cabinet can look fresh and well-maintained in no time. Additionally, selecting appropriate materials needed for repairs, such as matching paint or filler, will help achieve a more professional finish. Being aware of beauty store hours, like those of Ulta Beauty or Sephora, can help you plan your shopping for the necessary supplies efficiently. Proper surface preparation and understanding paint compatibility ensure the durability and appearance of your repairs last over time. Knowing anime movies, such as “Spirited Away” or “Your Name,” can also inspire creative redesign ideas for your space’s decor. Furthermore, understanding the costs of electric bikes can help in budgeting for future upgrades or additions to your home or garage.
Surface Preparation Techniques
Before you begin refurbishing your spa cabinet, it’s essential to address any chips, scratches, or damaged areas to make certain a smooth finish. Start by cleaning the surface thoroughly to remove dirt and grease. Use fine-grit sandpaper to gently sand down rough edges around damaged spots, which helps create an even surface. For deeper chips or gouges, apply a wood filler or epoxy putty, pressing it into the damaged area and smoothing it with a putty knife. Allow the filler to dry completely before lightly sanding it flush with the surrounding surface. Wipe away dust with a tack cloth. Proper surface preparation guarantees that your repairs blend seamlessly and that the new paint or stain adheres well, resulting in a professional-looking finish.
Repair Material Selection
Choosing the right repair materials is essential for effectively restoring chips, scratches, and damaged areas on your spa cabinet. First, identify the material of your cabinet—whether it’s wood, laminate, or acrylic—so you can choose compatible fillers and paints. For chips and scratches, use a high-quality wood filler or epoxy that matches the color and finish. For larger damaged areas, consider a patching compound designed for your surface type. Always select paints or stains that are compatible with the existing finish to ensure seamless blending. Test your repair materials on a hidden area first to check for color match and adhesion. Using the proper materials prevents further damage and guarantees a smooth, durable repair that maintains your spa’s aesthetic. Additionally, understanding the automation in business can help you streamline repair processes and improve efficiency. Incorporating reliable repair techniques ensures long-lasting restoration and reduces the need for frequent repairs.
Sanding and Preparing the Surface for New Finishes
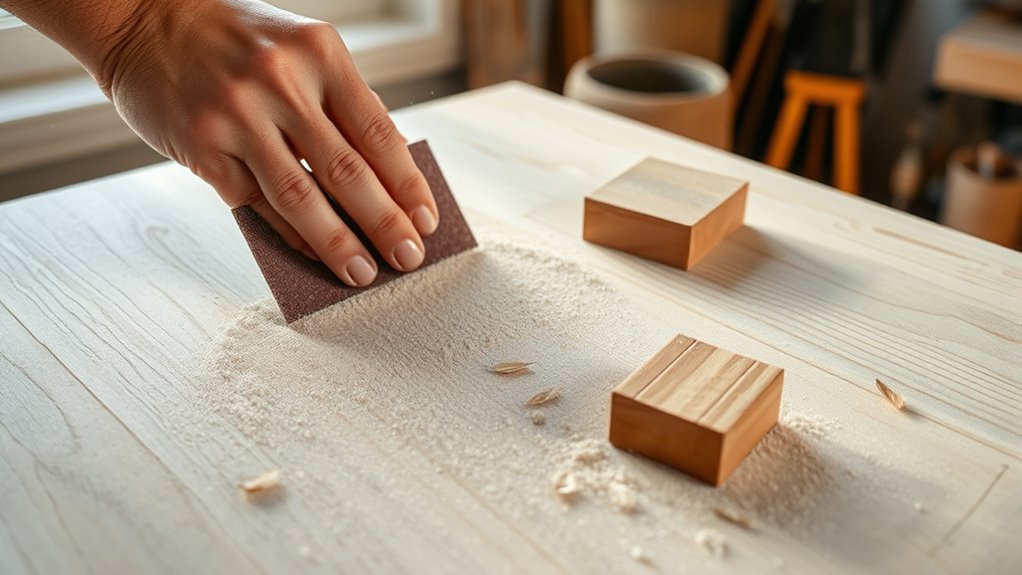
Sanding and preparing the surface is essential for achieving a smooth, professional finish on your spa cabinet. Start by selecting the right grit sandpaper: coarse for rough areas, and finer for smoothing surfaces. Sand in the direction of the wood grain to prevent scratches. Remove any dust or debris with a tack cloth or damp rag before proceeding. Proper preparation guarantees the new finish adheres well and looks flawless. Incorporating techniques from remote hackathons, such as utilizing digital tools for project planning, can help streamline your refurbishment process. Additionally, understanding AI software engineer jobs can inspire innovative ways to incorporate technology into your DIY projects. Paying attention to surface quality ensures your refinishing efforts yield long-lasting results.
Choosing the Right Paint, Stain, or Finish
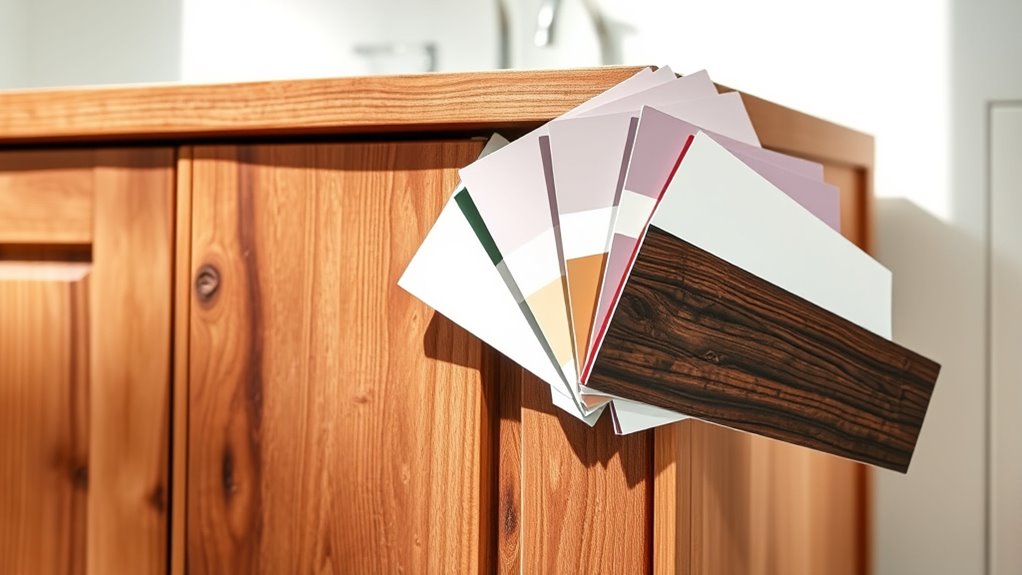
When selecting paint, stain, or finish, you need to consider material compatibility to ensure it adheres properly and lasts. Think about how durable the finish needs to be based on how much moisture or wear your spa cabinet will face. Finally, choose colors that match your aesthetic vision to create a relaxing and cohesive look.
Material Compatibility Tips
Selecting the right paint, stain, or finish is essential to guarantee your spa cabinet looks great and lasts long. Before applying any product, check that it’s compatible with the material of your cabinet—whether wood, MDF, or laminate. Read labels carefully to ensure the finish adheres properly and provides the desired protection. If your cabinet is made of wood, choose products designed for wood surfaces to prevent peeling or chipping. For laminate or MDF, opt for primers and paints formulated specifically for those materials. Always test a small area first to see how the product reacts. Using incompatible finishes can result in peeling, uneven color, or damage over time. Proper compatibility ensures your refurbishing project looks professional and stands up to moisture and wear.
Finish Durability Factors
Choosing the right paint, stain, or finish is essential for ensuring your spa cabinet withstands moisture, daily use, and aging. The durability of your finish depends on its ability to resist water, scratches, and general wear over time. High-quality finishes create a protective barrier that prolongs the cabinet’s appearance and function. To maximize durability, consider finishes with water-resistant properties, UV protection, and toughness. Proper surface preparation and application also play pivotal roles in the longevity of your finish. Remember, a well-chosen finish not only protects but enhances your cabinet’s lifespan and performance.
- Select finishes specifically designed for humid environments
- Use primers suitable for your material type
- Apply multiple thin coats for better protection
- Follow manufacturer’s drying and curing instructions
- Regular touch-ups extend finish life
Aesthetic Color Choices
The right color choices can dramatically enhance your spa cabinet’s appearance, transforming it from basic to beautiful. Consider the overall style of your space—soothing neutrals like soft grays or whites create a calming vibe, while bold colors like navy or emerald add modern flair. Light shades tend to make the area feel more open and airy, perfect for smaller spaces. Darker finishes bring richness and elegance, but can make the room seem smaller if not balanced well. Stains can highlight wood grain for a natural look, while paints offer a smooth, uniform finish. Think about how the color complements other elements in your spa area, such as tiles, lighting, and accessories. Choosing the right hue sets the tone and elevates your refurbishment project.
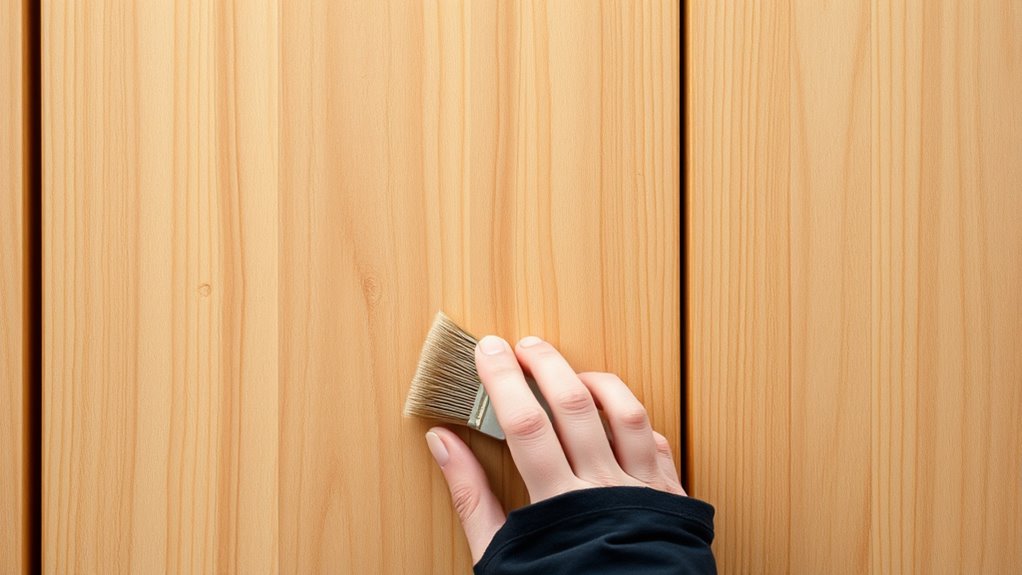
Applying Paint, Stain, or Sealant for a Smooth, Durable Finish
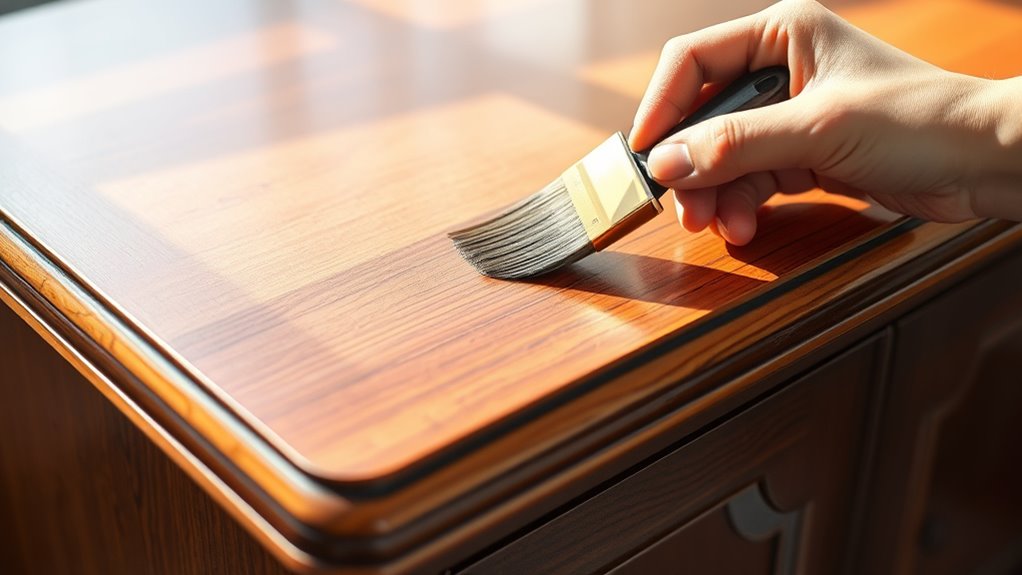
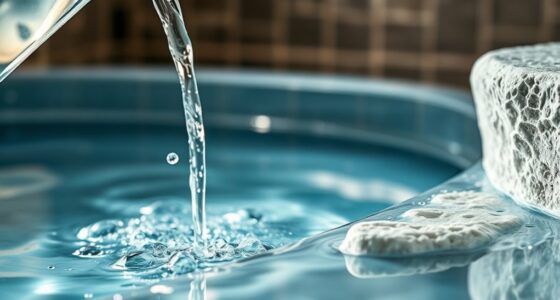
Applying paint, stain, or sealant is a crucial step in giving your spa cabinet a smooth, durable finish that lasts. It protects the wood from moisture, wear, and UV damage while enhancing its appearance. To achieve the best results, prep your surface thoroughly, ensuring it’s clean and sanded smooth. Use quality brushes or rollers for even application, and apply thin coats to prevent drips and unevenness. Allow each coat to dry completely before adding another. Finish with a sealant to lock in the color and provide extra protection. Remember, patience is key to a professional-looking result.
- Proper surface preparation ensures adhesion and longevity
- Thin coats prevent drips and uneven coverage
- Use quality tools for smooth application
- Adequate drying time between coats is essential
- Sealant boosts durability and enhances appearance
Replacing Hardware and Adding Decorative Touches
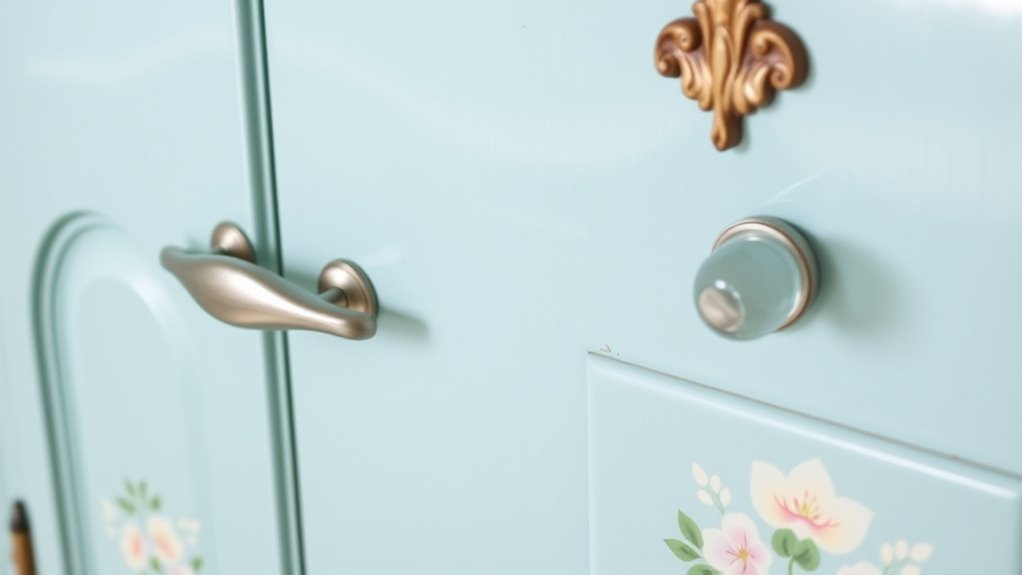
Updating your spa cabinet with new hardware and decorative touches can instantly elevate its look. Start by choosing stylish knobs, handles, or pulls that complement your overall design. Swapping out old, worn hardware for modern fixtures adds a fresh, updated feel. Consider decorative accents like trim, adhesive decals, or stencil patterns to add personality and character. You can also add small decorative elements such as decorative knobs or vintage-inspired pulls for a unique touch. When installing new hardware, verify it’s securely fastened and aligned correctly for a professional appearance. These simple updates make a significant difference, giving your spa cabinet a custom, polished look without a major overhaul. Focus on cohesive styles and finishes to create a unified, attractive upgrade.
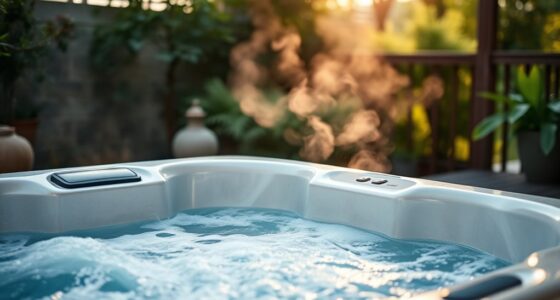
Caring for and Maintaining Your Refurbished Spa Cabinet

To keep your refurbished spa cabinet looking its best, regular cleaning and gentle maintenance are essential. Use a soft cloth and mild soap to wipe down surfaces weekly, avoiding harsh chemicals that can damage the finish. Check for any signs of wear or damage, like chips or scratches, and address them promptly to prevent further deterioration. Applying a protective sealant or furniture polish every few months helps preserve the finish and keeps it looking vibrant. Avoid excessive moisture and direct sunlight, which can cause fading or warping.
Regular cleaning, gentle maintenance, and protective finishes keep your spa cabinet looking vibrant and well-preserved.
- Clean surfaces regularly to prevent grime buildup
- Use gentle products to avoid damage
- Inspect for damage and repair early
- Apply protective finishes periodically
- Keep the cabinet away from harsh environmental elements
Frequently Asked Questions
How Long Does a Typical Spa Cabinet Refurbishment Process Take?
You’re probably wondering how long a typical refurbishment takes. It varies depending on the project’s scope, but generally, you can expect it to take anywhere from a few days to a week. You’ll need time for cleaning, sanding, painting or staining, and drying between coats. If you’re doing it yourself, plan for extra time to guarantee each step is done properly. Rushing can lead to a less-than-perfect finish.
Can I Refurbish My Spa Cabinet Outdoors?
You can refurbish your spa cabinet outdoors, but it’s not ideal. Weather conditions like rain, humidity, and direct sunlight can ruin your efforts, causing paint or finish to peel or warp. If you choose to work outside, pick a dry, mild day, and protect your work area. Alternatively, doing it indoors or in a sheltered space gives you more control and better results.
What Safety Precautions Should I Follow During Refurbishment?
You might wonder if safety precautions are necessary during refurbishment. The truth is, they’re essential. Always wear protective gear like gloves, goggles, and a mask to shield yourself from dust, chemicals, and fumes. Guarantee good ventilation, work in a well-ventilated area, and keep your workspace clean. Follow manufacturer instructions for tools and products. Taking these steps helps prevent accidents and health issues, making your project safer and more successful.
Are There Eco-Friendly Paint Options Suitable for Spa Cabinets?
When choosing eco-friendly paint options, you can look for labels like low or zero VOC, which emit fewer harmful chemicals. You should also consider water-based paints, as they’re less toxic and easier to clean up. Guarantee good ventilation during application, and wear a mask and gloves for extra safety. These choices help protect your health and the environment, making your spa cabinet refurbishment safer and more sustainable.
How Often Should I Reseal or Touch up the Finish After Refurbishment?
Imagine the smooth, glossy surface of your spa cabinet, inviting relaxation. To keep it looking perfect, you should reseal or touch it up every 1-2 years, depending on usage and exposure. Regular inspections will reveal when it’s time, especially if you notice dullness or minor chips. Staying proactive helps maintain that pristine look, ensuring your spa area remains a calming retreat. Don’t wait too long—your cabinet deserves consistent care.
Conclusion
Now that you’ve revitalized your spa cabinet, it’s like giving your space a fresh breath of life. With a little effort and creativity, you’ve transformed it into a stunning focal point. Keep up with regular care to maintain its beauty, just like tending to a delicate garden. Your hard work has paid off—enjoy your refreshed spa cabinet, radiating charm and inviting relaxation every time you step into your sanctuary.