
To replace a worn-out vinyl liner bottom pad, start by draining the pool and thoroughly cleaning the surface. Carefully remove the old pad using tools like a utility knife or scraper. Inspect the surface for damage and make necessary repairs. Then, position and secure the new pad flat against the pool floor, ensuring no wrinkles or gaps. Filling the pool slowly while checking alignment helps finalize the process—continue to discover detailed steps to guarantee a smooth, long-lasting repair.
Key Takeaways
- Drain the pool completely, clean the surface thoroughly, and inspect for damage before removing the old bottom pad.
- Carefully loosen and remove the worn-out pad, ensuring no damage to the vinyl liner or pool surface.
- Measure and align the new bottom pad precisely, securing it with adhesive or clips as per manufacturer instructions.
- Fill the pool gradually to prevent shifting, checking the pad’s alignment and smoothness during filling.
- Conduct final inspections for wrinkles or misalignments, then reinstall fittings and perform routine maintenance for longevity.
Gathering Necessary Tools and Materials
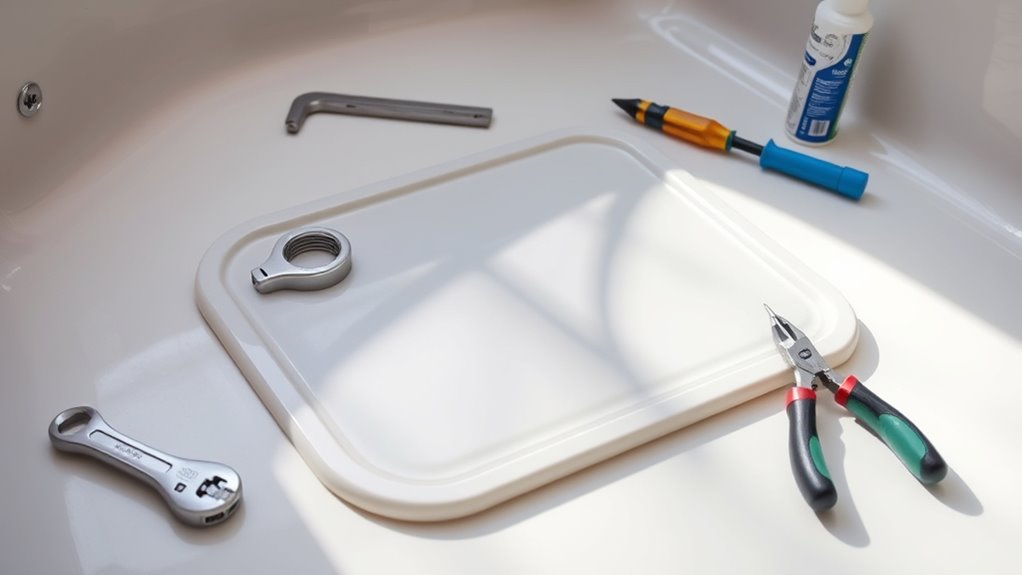
Before you begin replacing the worn-out vinyl liner bottom pad, it is essential to gather all the necessary tools and materials. Start with a clean, flat workspace near the pool to keep everything within reach. You’ll need a utility knife or scissors to cut the new pad, a measuring tape to ensure proper size, and a marker for marking cuts. Have a pool brush or vacuum ready to clear debris from the pool floor beforehand. You may also want gloves to protect your hands and a sponge or cloth for cleaning. If the new pad requires adhesive, get a suitable pool-safe adhesive on hand. Organize these items beforehand to streamline the process and avoid multiple trips, making the replacement smoother and more efficient. Additionally, understanding the importance of a properly maintained self watering plant pots can inspire you to handle your pool liner with similar care to prevent future issues. Considering proper pool liner installation techniques can also help ensure a durable and effective replacement. Being aware of divorce statistics can remind you of the importance of careful planning and support during significant transitions. To ensure the longevity of your new liner, reviewing vacuum cleaner performance metrics can help you select the right cleaning tools to maintain your pool area effectively. Proper attention to airless paint sprayer maintenance practices can serve as a helpful analogy for keeping your pool equipment in optimal condition.
Draining and Preparing the Pool Area
To guarantee a safe and clean environment for replacing the vinyl liner bottom pad, you need to drain the pool completely. Begin by turning off the pump and filtering system to prevent water circulation. Attach a submersible pump or use a siphon hose to carefully remove all water from the pool. Ensure the area around the pool is clear of debris and obstacles to prevent accidents during draining. Once drained, clean the pool’s surface to remove dirt, algae, or any residues that could interfere with the new pad installation. If your pool has a deck or surrounding area, check for any damage or leaks that may need repair before proceeding. Properly draining and preparing the pool area sets the foundation for a smooth replacement process. Additionally, consulting AI tools can help you optimize your pool maintenance and repair procedures, especially when considering long-term durability and future upkeep.
Maintaining a thorough inspection of the pool’s surface and surrounding area can further prevent complications during the replacement process.
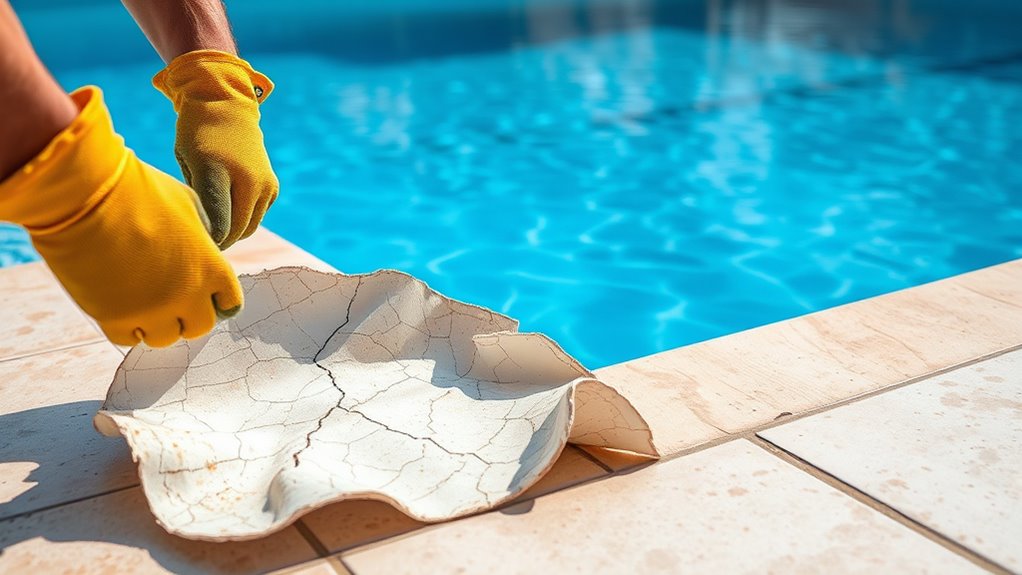
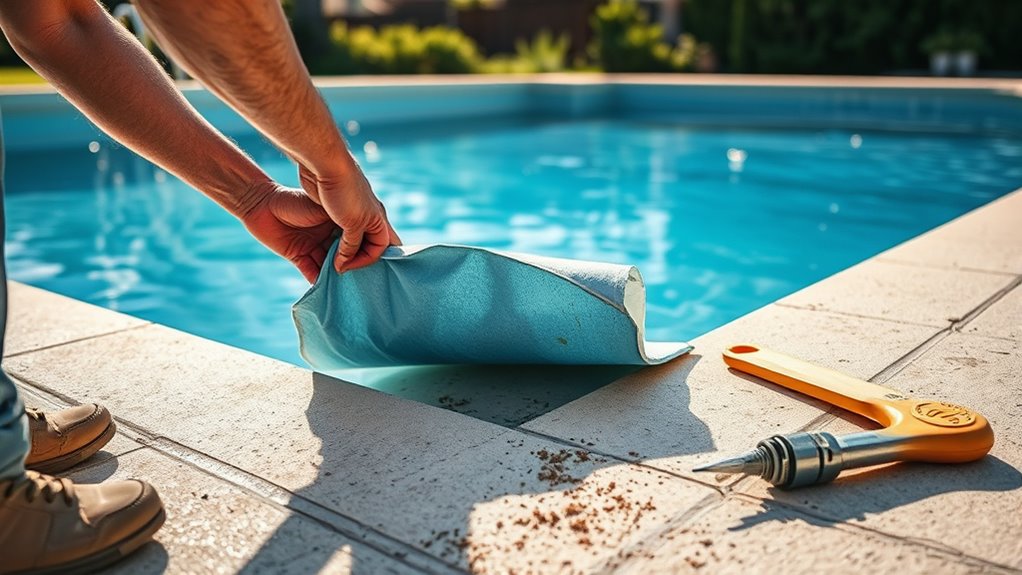
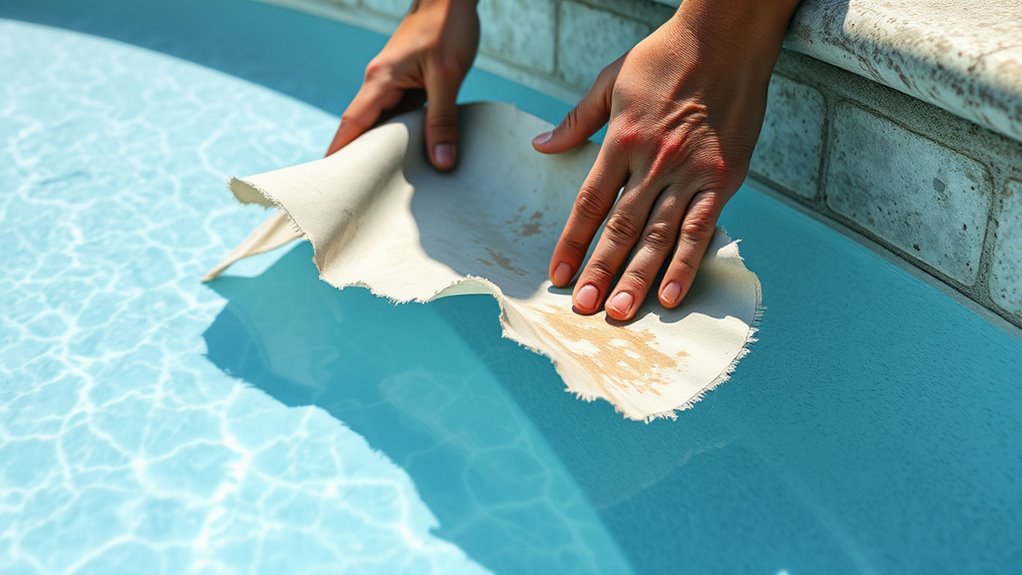
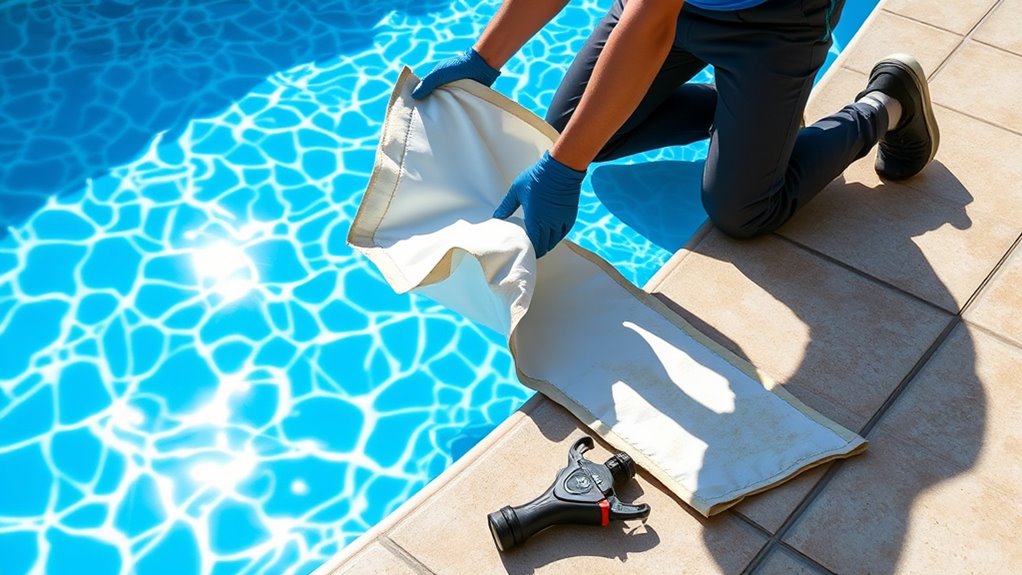
Removing the Old Bottom Pad
Removing the old bottom pad is a critical step that requires careful attention. Start by draining any remaining water to prevent messes. Next, clear the pool of debris or loose material that might interfere with removal. Carefully loosen any adhesive or staples holding the pad in place, if applicable. Gently lift the edges of the pad, working gradually to avoid tearing the vinyl or damaging the pool surface. Use a utility knife or scraper if needed to cut any stubborn adhesive or stuck areas. Take your time, ensuring you don’t rip or puncture the vinyl beneath. Proper removal sets the stage for a clean surface and a successful new installation. Additionally, checking the surface preparation before installing the new pad is essential for ensuring the longevity and effectiveness of your new bottom pad. Incorporating industry best practices can further enhance the durability of your repair.
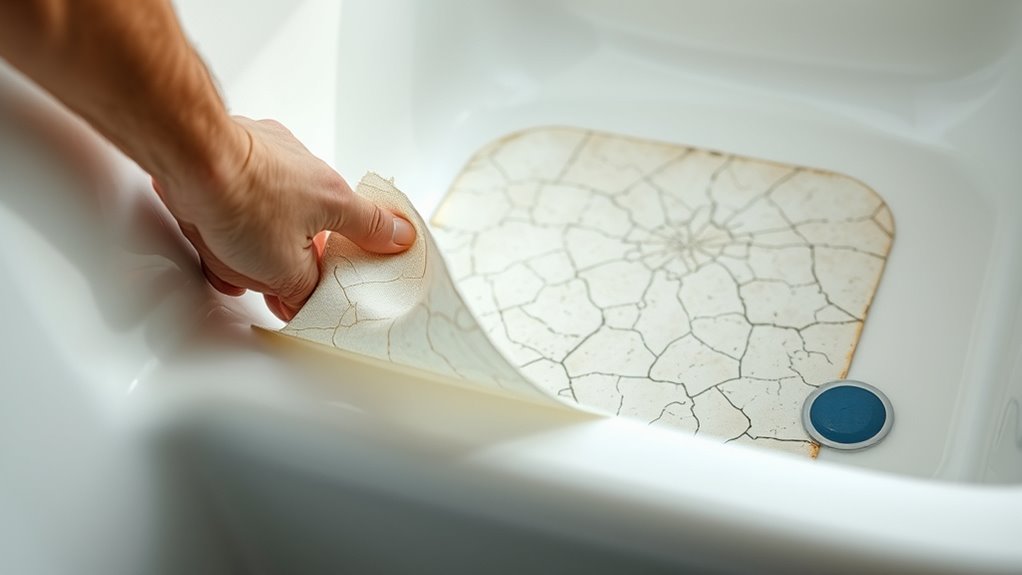
Inspecting and Preparing the Pool Surface
Before installing a new bottom pad, you need to inspect the pool surface carefully. Check for any cracks, rough spots, or damage that could affect the liner’s fit. Then, clean the area thoroughly and make sure the surface is level to assure a smooth, even installation. Additionally, ensuring the surface is free from surface vulnerabilities can help prevent future issues with the liner.
Check for Surface Damage
Inspecting the pool surface thoroughly is essential to guarantee it’s free of damage before installing a new liner bottom pad. Carefully examine the entire surface for cuts, tears, or punctures that could compromise the new pad’s integrity. Look for any uneven spots, cracks, or rough areas that might cause the liner to wear prematurely. Use a flashlight to highlight hidden damage, especially in corners and seams. If you find any damage, mark those spots and plan to repair or smooth them out. Make certain the surface is smooth and level, removing any sharp debris or protrusions. Taking the time to identify and address surface issues now prevents future problems and helps ensure your new liner and bottom pad stay in good condition longer. Remember, a properly prepared surface is crucial for the longevity of your pool liner. Ensuring the surface is free of surface damage helps maintain the integrity of the installation. To enhance your inspection, consider checking for any signs of wear and tear, which can indicate underlying issues needing attention before installation. Additionally, verifying the surface smoothness can prevent uneven pressure points that might damage the liner over time. Regularly inspecting and maintaining the pool surface aligns with best practices for preventive maintenance, prolonging the life of your pool components.
Clean Pool Area Thoroughly
To guarantee a smooth installation of your new liner bottom pad, you need to thoroughly clean the pool area and inspect the surface for any issues. Remove all debris, leaves, and dirt from the pool floor and surrounding area. Use a pool brush or vacuum to scrub the surface, ensuring there are no loose particles or grime that could interfere with the pad’s adhesion. Check for any algae, mold, or stains and clean them thoroughly. Wipe down the surface with a mild cleaner if necessary, then rinse completely to remove any residue. A clean, dry surface helps the new pad lay flat and stay secure. Additionally, understanding the importance of AI-driven innovations in modern pool maintenance can help you utilize new tools or techniques for better results. Employing surface preparation techniques can further enhance the adhesion and longevity of your new liner bottom pad. Proper surface inspection and cleaning methods are essential to prevent future problems and ensure your new liner functions properly for years to come, especially considering the benefits of regular maintenance for optimal pool longevity. Incorporating effective cleaning methods can also reduce the buildup of contaminants that may compromise the pad’s adhesion over time.
Ensure Surface Levelness
Ensuring the pool surface is level is essential for a proper liner bottom pad installation. An uneven surface can cause wrinkles, gaps, or premature wear. Before installing the new pad, inspect the entire surface for dips, high spots, or debris. Use a level or straightedge to check for flatness across the pool floor. If you find uneven areas, smooth them out with a suitable patch or leveling compound. To highlight the importance of a flat surface:
| Surface Condition | Effect on Liner Bottom Pad |
|---|---|
| Flat and smooth | Proper fit, fewer wrinkles |
| Uneven or bumpy | Wrinkles, gaps, early failure |
Taking the time to prepare a level surface guarantees your liner lasts longer and looks better.
Installing the New Bottom Pad
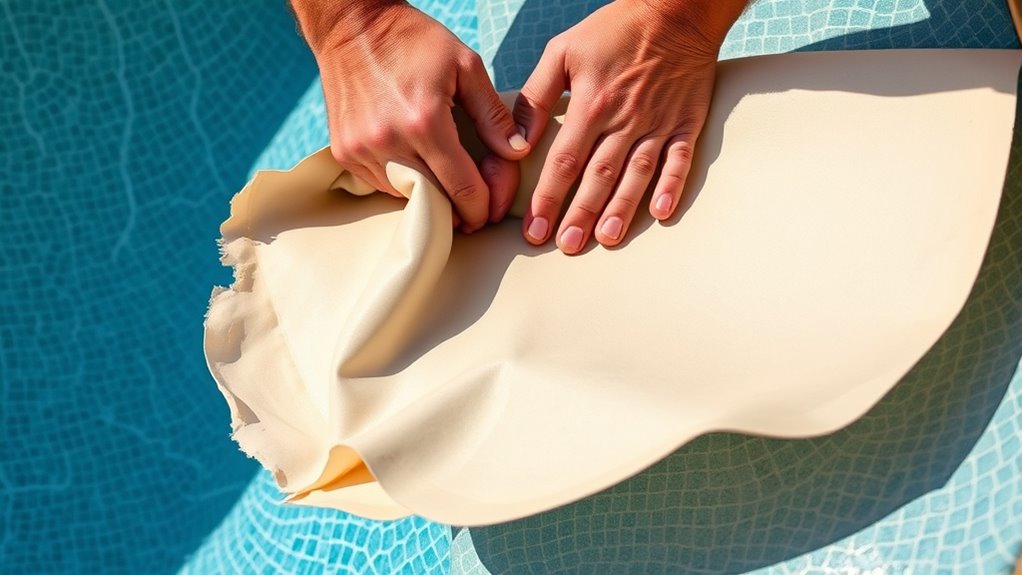
Once you’ve prepared the new bottom pad, position it carefully in the same spot as the old one, making sure it aligns properly with the edges and any existing fittings. Gently lay it flat, avoiding wrinkles or folds that could cause uneven surfaces. Check that the pad sits flush against the pool’s floor without overlapping or gaps. If necessary, make slight adjustments to ensure perfect alignment. Secure the pad if your pool design requires it—using adhesive or clips—according to manufacturer instructions. Take your time to ensure everything is correctly placed before proceeding. Proper installation at this stage prevents issues later, such as discomfort or damage to the liner. Once satisfied with its positioning, you’re ready to move on to filling and finalizing the pool setup.
Filling and Finalizing the Pool Setup
After confirming that the bottom pad is correctly positioned and secured, you can begin filling the pool with water. Start by slowly adding water to prevent shifting the pad. Keep an eye on the edges to ensure they stay in place as the water level rises. Use a gentle stream to avoid damaging the liner or displacing the pad. As the water level increases, periodically check that the pad remains properly aligned. Once the pool reaches the desired height, turn off the water and inspect the liner for any wrinkles or misalignments. Adjust if necessary before fully filling. Finally, install any remaining fittings, skimmers, or accessories, and double-check all connections for leaks. Your pool setup is now ready for use.
Frequently Asked Questions
How Long Does the Entire Replacement Process Typically Take?
The time it takes to replace a vinyl liner bottom pad varies, but you can generally expect the process to take about 2 to 4 hours. You’ll need to drain the pool, remove the old pad, inspect the surface, and install the new pad carefully. If you’re experienced, it may be quicker, but if you’re new to this, plan for some extra time to guarantee everything fits and seals properly.
Can I Replace the Bottom Pad Myself or Should I Hire a Professional?
Imagine you’re replacing your pool liner’s bottom pad; you wonder if you can do it yourself or need a pro. If you’re handy and have basic tools, you might handle it with careful planning. However, a professional guarantees proper installation and avoids mistakes, especially if you’re unsure about the process. Consider your experience and comfort level before deciding—sometimes, investing in a pro saves time and prevents costly errors.
What Are Common Signs Indicating the Bottom Pad Needs Replacement?
You might notice signs that your pool’s bottom pad needs replacing, like uneven or sagging liner, persistent wrinkles, or visible tears. If the liner shifts or you see water pooling unevenly, it’s a clear indicator the pad is compromised. These issues can cause discomfort and damage, so keep an eye out for them. Regular inspections help catch problems early, making repairs easier and preventing costly damage later.
How Often Should the Vinyl Liner Bottom Pad Be Replaced?
You should replace your vinyl liner bottom pad whenever it shows signs of wear, such as tears, cracks, or noticeable deterioration. Typically, it’s a good idea to check it annually or whenever you notice issues with your pool’s liner. Regular inspections help prevent leaks and damage. If you spot any damage or if the pad has become brittle or misshapen, it’s time for a replacement to keep your pool in top condition.
Are There Any Safety Precautions I Should Follow During Replacement?
When replacing the vinyl liner bottom pad, you should take safety precautions seriously. Wear gloves to protect your skin from sharp edges and chemicals. Make sure the pool is turned off and the power is disconnected to avoid electrical hazards. Use proper tools and handle materials carefully to prevent injuries. Work in a well-ventilated area, especially if you’re using adhesives or chemicals. Always follow manufacturer instructions for safety.
Conclusion
Replacing your pool’s bottom pad is like giving it a fresh pair of shoes—comfort and support for many seasons ahead. Once you’ve completed the installation, you’ll feel the satisfaction of a job well done, much like crossing the finish line of a race. When your pool is properly supported, it’s ready for endless summer memories. So, take pride in your work—your backyard oasis will thank you, and so will your future splash days!