
To keep your pool fence looking great and lasting longer, start by cleaning and sanding the surface to guarantee proper adhesion. Choose high-quality outdoor paint designed for metal or wood, and apply a suitable primer first. Use even coats with brushes or rollers, allowing each layer to dry completely. Regularly inspect, clean, and touch up any chips or peeling areas. If you want detailed tips on each step, explore more to guarantee your fence stays protected and attractive.
Key Takeaways
- Thoroughly clean and sand the fence to ensure proper paint adhesion and a smooth surface.
- Select high-quality, outdoor-rated, rust-resistant paint suitable for the fence material.
- Apply primer evenly before painting to improve durability and coverage.
- Use long, continuous strokes and thin coats for an even finish and minimal drips.
- Regularly inspect, clean, and touch up the fence to maintain its appearance and protect against weather damage.
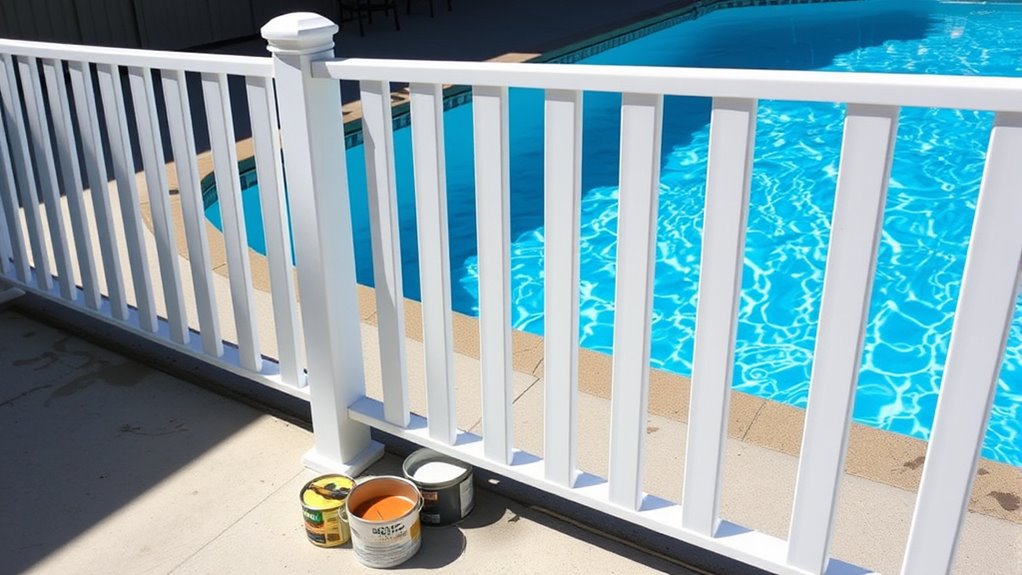
Choosing the Right Paint and Materials
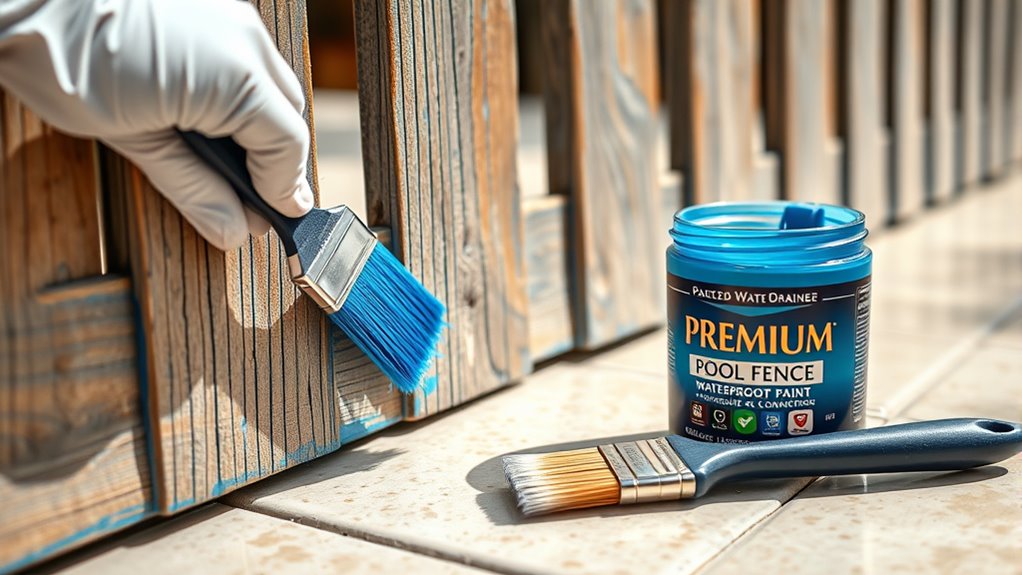
When selecting paint and materials for your pool fence, it’s essential to choose options that can withstand exposure to water, sunlight, and outdoor elements. Opt for high-quality, outdoor-rated paints specifically designed for metal or wood fences, depending on your material. Look for paints labeled as rust-resistant, waterproof, and UV-resistant to ensure longevity. Using the right primer is equally important; choose one suitable for your fence’s material to promote adhesion and prevent peeling. Consider using oil-based or latex paints formulated for exterior use—latex tends to be easier to clean and more environmentally friendly. Additionally, select durable brushes or rollers that can handle textured surfaces, ensuring an even application. Proper surface preparation and tuning techniques can also improve the paint’s adherence and durability, making your pool fence more resilient over time. Incorporating UV protection in your paint choice can further prevent fading and damage caused by sun exposure. Understanding paint durability can help you choose the most appropriate options for long-lasting results. Using the right type of paint for outdoor use can significantly extend the life of your fence, saving you time and money in maintenance. Investing in the right paint and materials now will save you time and effort later.
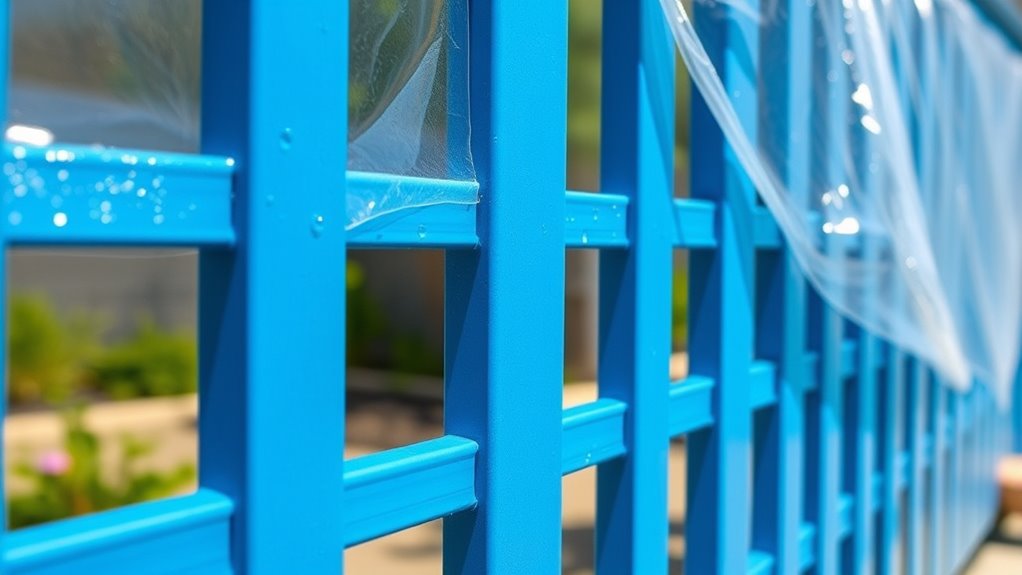
Preparing Your Fence for Painting
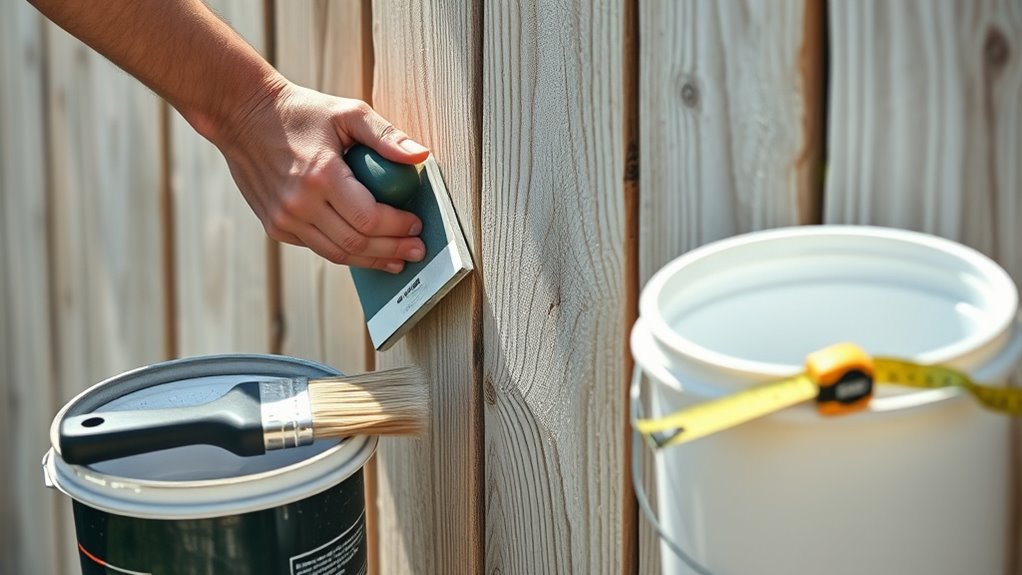
Before you start painting, it’s essential to prepare your fence properly to guarantee the new coat adheres well and lasts longer. Begin by inspecting your fence for any loose or damaged boards, and repair or replace them as needed. Tighten loose nails or screws to prevent drips and uneven coverage. Protect surrounding areas with drop cloths or plastic sheeting to avoid splatters. If your fence has existing paint or stain, consider applying a primer designed for outdoor wood or metal surfaces; this helps the new paint bond better and provides a smooth base. Additionally, choosing the right outdoor surface preparation techniques can significantly enhance the paint’s adhesion and longevity. Finally, make sure the fence is completely dry and free of debris, as moisture and dirt can compromise adhesion and result in an uneven finish. Proper preparation sets the foundation for a lasting, professional-looking paint job.
Cleaning and Sanding the Surface
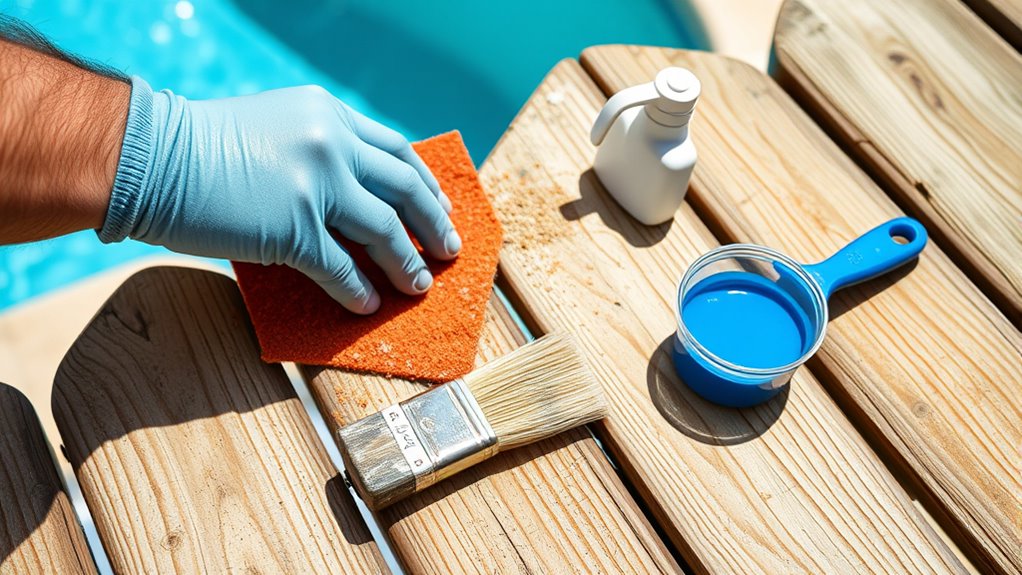
Before painting, you need to thoroughly clean and sand the fence surface. Use the right techniques to remove dirt, grime, and loose paint for a smooth finish. This step guarantees your new coat adheres properly and lasts longer. Additionally, ensuring your surface is free of dirt and grime helps prevent issues related to poor adhesion. To further improve the surface, consider inspecting for any moisture issues that could affect paint performance over time. Proper surface preparation, including addressing surface imperfections, is essential for achieving a professional-looking finish and ensuring durability. Incorporating workspace organization techniques can also help streamline your painting process and prevent clutter during your project.
Surface Preparation Techniques
To guarantee your pool fence paint adheres properly and lasts longer, it’s essential to start with thorough surface preparation. Proper cleaning and sanding create a smooth, contaminant-free surface that ensures the paint bonds well. Using the right surface preparation techniques can significantly improve the durability of your paint job. Here are key surface preparation techniques: 1. Remove dirt, algae, and loose debris with a stiff brush or pressure washer. 2. Rinse thoroughly and let the surface dry completely. 3. Sand any rough or peeling areas to create a smooth surface. 4. Wipe down the fence with a damp cloth to eliminate dust from sanding. Additionally, inspecting the surface for paint adhesion issues before applying new paint can help identify problem areas early. These steps help improve paint adhesion and prevent future peeling. Taking the time to prepare your fence properly pays off with a longer-lasting, professional-looking finish.
Removing Old Paint Residue
Are you wondering how to effectively remove old paint residue from your pool fence? To start, inspect the surface for peeling or flaking paint. Use a paint scraper or putty knife to gently lift loose paint without damaging the fence. Next, clean the surface thoroughly with a mixture of water and mild detergent to remove dirt, grease, and debris. Rinse well and let it dry completely. Once dry, sand the surface using medium-grit sandpaper to smooth out rough spots and remove any remaining residue. For stubborn areas, consider using a wire brush or a chemical paint stripper, following safety instructions carefully. Proper cleaning and sanding ensure a clean, smooth surface, allowing your new paint to adhere better and last longer. Incorporating sound science principles can also help you choose the most effective cleaning and preparation techniques. Additionally, understanding the importance of timely maintenance can prevent future buildup of paint residue, making the process easier over time. Being aware of proper preparation methods is essential for achieving a professional-looking finish and extending the life of your fence paint. Implementing preventive maintenance strategies can further reduce the need for extensive surface preparation in the future. Applying the right techniques supported by scientific research can improve adhesion and durability of your new paint layer.
Applying Primer for Better Adhesion

Before applying primer, make sure your fence surface is clean and smooth to guarantee good adhesion. Use proper techniques, like even strokes and enough coverage, to get the best results. Proper surface prep and application methods set a strong foundation for your paint to last. Additionally, selecting the right paint preparation and following manufacturer guidelines can significantly improve the durability of your finish. Considering optimal angles for application can also help ensure an even coat and better overall results. Ensuring proper surface compatibility between the primer and your fence material can further enhance adhesion and longevity. Being aware of surface conditions such as moisture or previous coatings can also impact primer effectiveness and overall paint performance. Recognizing environmental factors like temperature and humidity is essential for optimal primer adhesion and durability.
Surface Preparation Tips
Applying primer is a crucial step in guaranteeing your pool fence paint adheres properly and lasts longer. Before applying primer, make sure the surface is clean and free of dirt, grease, and loose paint. Proper surface prep guarantees better adhesion and a smoother finish. Here are four essential tips:
- Clean thoroughly with a wire brush or pressure washer to remove debris.
- Sand rough areas to create a smooth surface for primer to bond.
- Remove rust using a rust converter or sanding if needed.
- Dry completely before applying primer to prevent moisture issues.
- Regularly assess the surface for clutter buildup that could interfere with the prep process. Additionally, inspecting the surface for existing paint layers helps ensure proper adhesion and prevents peeling later on.
Taking these steps helps guarantee a solid foundation for your paint, leading to a professional-looking, durable finish that withstands weather and pool conditions. Proper surface prep saves you time and effort in the long run.
Primer Application Techniques
To guarantee your primer bonds effectively to your pool fence, focus on proper application techniques. Start by stirring the primer thoroughly to ensure consistency. Use a high-quality brush or roller suited for your surface type, applying in smooth, even strokes. Avoid over-application, which can lead to drips or uneven coverage. Work in manageable sections, maintaining a wet edge to prevent lap marks. Temperature and humidity also matter; apply when conditions are ideal for drying. Here’s a quick guide:
| Step | Tip |
|---|---|
| Stir thoroughly | Mix well to ensure even consistency |
| Use proper tools | Choose brushes or rollers suited for the surface |
| Apply evenly | Maintain a wet edge for smooth coverage |
Following these techniques helps ensure your primer adheres well, creating a solid base for paint.
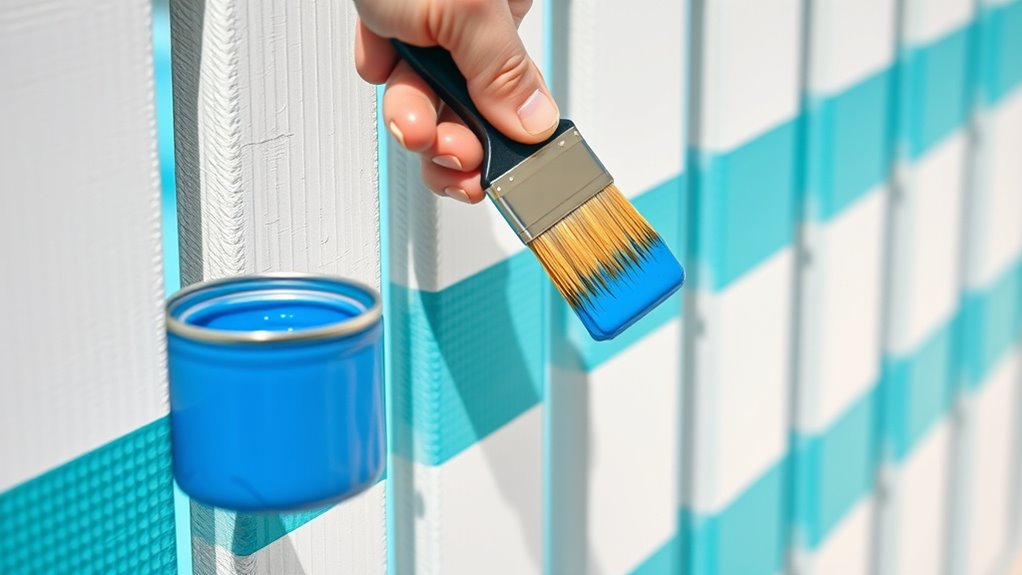
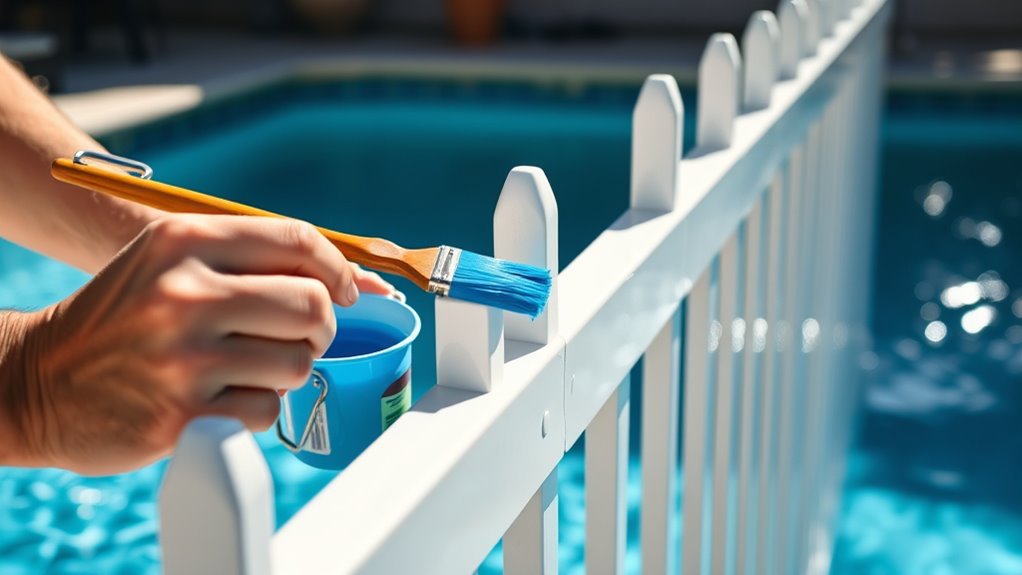
Painting Your Pool Fence: Techniques and Tips
When painting your pool fence, choosing the right techniques guarantees a smooth, durable finish that withstands weather and pool chemicals. To achieve this, follow these tips:
- Use a high-quality brush or roller designed for exterior surfaces to ensure even coverage.
- Work in small sections, applying paint in long, continuous strokes to prevent streaks.
- Maintain a wet edge by blending each section seamlessly with the previous one.
- Apply thin coats, allowing each layer to dry fully before adding the next, for a professional-looking finish.
Proper technique minimizes drips and brush marks, extending your fence’s lifespan. Take your time, stay consistent, and focus on even application for the best results.
Allowing Proper Drying and Curing
After painting your pool fence, giving the paint ample time to dry and cure is essential for a long-lasting finish. Rushing this step can lead to smudges, peeling, or uneven color. Typically, paint takes 24 to 48 hours to dry, but full curing may take up to a week, depending on conditions. During this period, avoid touching or exposing the fence to water or harsh weather. To help you understand the process better, here’s a quick reference:
| Stage | Time Frame | Tips |
|---|---|---|
| Initial Drying | 24-48 hours | Keep area well-ventilated, avoid touch |
| Curing Phase | Up to 7 days | Limit exposure to water and debris |
| Final Inspection | After curing period | Ensure paint is fully hardened |
Regular Maintenance and Touch-Ups
Regular maintenance and touch-ups are key to keeping your pool fence looking fresh and ensuring the paint remains durable over time. Regular inspections help you spot chips, cracks, or peeling before they worsen. Touch-up small areas promptly to prevent rust or corrosion from developing. Keeping the fence clean guarantees paint adhesion and prolongs its lifespan. Here are four essential tasks:
- Inspect for damage monthly
- Clean the fence with gentle soap and water
- Touch up chipped or peeling paint immediately
- Reapply paint or sealant every couple of years
Seasonal Care and Long-Term Preservation

Seasonal care is essential for maintaining your pool fence’s appearance and durability over the long term. As seasons change, you need to protect your fence from weather damage, such as sun, rain, and snow. Before winter, clean the fence thoroughly and inspect for any cracks or peeling paint. Apply a fresh coat of sealant or paint to safeguard against moisture and rust. During summer, regularly check for fading or chipping, and touch up paint as needed. In the fall, clear debris and ensure the fence is dry before covering it or storing it if possible. Long-term preservation also involves periodic inspections and maintenance, ensuring your fence remains sturdy, attractive, and protected against the elements for years to come.
Frequently Asked Questions
How Often Should I Repaint My Pool Fence?
You might wonder how often you should repaint your pool fence. Generally, it’s best to do a touch-up every 2 to 3 years to keep it looking fresh and protect against weather damage. Keep an eye out for peeling, chipping, or fading paint, and consider a full repaint if the fence’s appearance or integrity starts to decline. Regular maintenance guarantees your fence stays durable and attractive over time.
What Are Common Mistakes to Avoid During Painting?
Think of painting your fence like painting the Mona Lisa—you want perfection, not smudges. To avoid common mistakes, don’t rush the prep work; ignoring surface cleaning and sanding leads to peeling. Use the right paint type and apply in proper conditions. Avoid thick coats that drip, and don’t skip primer. Finally, don’t forget to follow manufacturer instructions—precision ensures a durable, beautiful finish.
Can I Paint Over Existing Paint or Rust?
You can paint over existing paint or rust, but prep is key. First, clean the surface thoroughly to remove dirt, grease, and loose paint. Use a wire brush or rust remover on rust spots, then sand the area to create a smooth, even surface. Applying a primer suited for metal or the existing paint guarantees better adhesion. Skipping these steps can lead to peeling or rust creeping through your new coat.
What Safety Precautions Are Necessary During Painting?
While safety precautions often seem like a hassle, neglecting them can lead to serious injuries. During painting, you should wear protective gear like gloves, goggles, and a mask to avoid fumes and skin contact. Make sure the area is well-ventilated, keep a fire extinguisher nearby, and store paints safely away from children. Taking these steps guarantees your project stays safe and your health remains protected throughout the process.
How Do Weather Conditions Affect the Painting Process?
Weather conditions considerably impact your painting process. If it’s too hot, paint can dry too quickly, leading to uneven coverage. Cold temperatures slow drying and may cause paint to crack or not adhere properly. High humidity increases the risk of drips and uneven finish. Ideally, you should paint in mild, dry weather with low wind to ensure the best results. Always check the forecast before starting to avoid weather-related issues.
Conclusion
With the right paint and proper care, your pool fence can stay vibrant and durable for years. Remember, a stitch in time saves nine—regular maintenance prevents bigger problems down the road. Keep your fence clean, touch up chips promptly, and follow seasonal care tips. By putting in a little effort now, you’ll enjoy a safe, attractive pool area all season long. After all, a well-maintained fence is the foundation of a beautiful, worry-free backyard.