
To detect underground plumbing leaks with pressure testing, you first shut off your main water supply and attach a pressure gauge to a test point. You then introduce water or air into the system, maintaining a steady pressure while watching for drops over 15-30 minutes. If the pressure drops, it indicates a leak. Continuing with these steps will help you understand how to troubleshoot and locate the problem more effectively.
Key Takeaways
- Attach a pressure gauge securely to the plumbing system to monitor pressure levels accurately.
- Pressurize the system with air or water, ensuring not to exceed recommended PSI.
- Maintain pressure for 15-30 minutes and observe for any pressure drops indicating leaks.
- Steady pressure suggests no underground leak; declining pressure indicates a leak presence.
- Use sound detection tools or visual inspection to locate leaks if pressure drops are detected.
Understanding the Pressure Testing Process
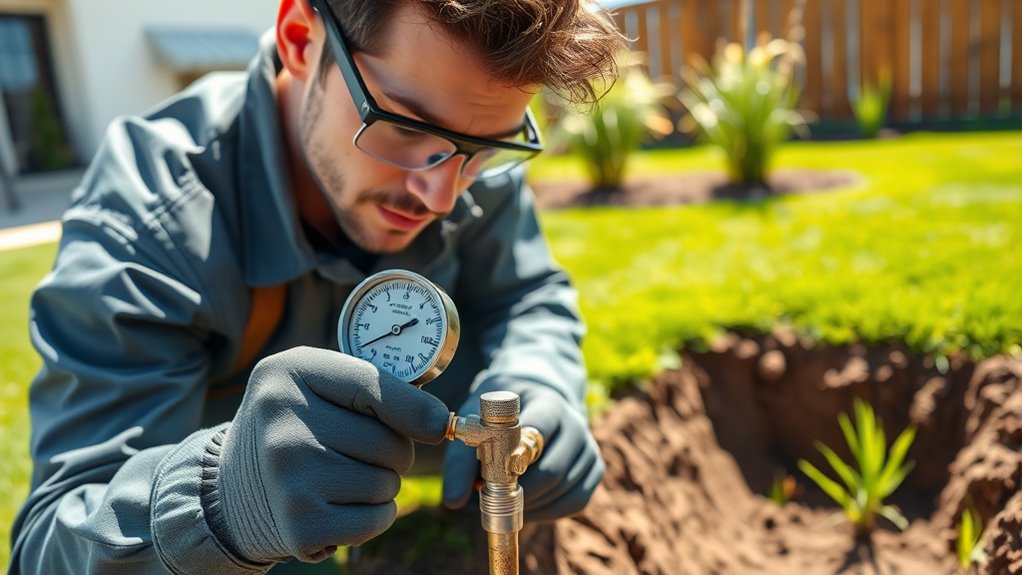
To effectively detect plumbing leaks, you need to understand the pressure testing process. This method involves sealing the piping system and increasing the internal pressure to a specific level, usually with air or water. You monitor the pressure over a set period, watching for any drops that indicate a leak. If the pressure remains steady, your pipes are likely intact. Conversely, a sudden or gradual decrease suggests a leak somewhere within the system. During the test, it’s essential to maintain consistent pressure and record readings accurately. This process helps you pinpoint leaks without invasive damage, saving time and reducing costs. Understanding how pressure testing works ensures you can interpret results correctly and take appropriate action when leaks are detected. Additionally, knowing the shelf life of grape juice can be useful when storing supplies for emergency repairs or maintenance. Proper pressure testing procedures are supported by advanced diagnostic tools, which can improve leak detection accuracy and efficiency. Employing comparative advantage principles in selecting testing methods can lead to more effective troubleshooting and resource allocation.
Equipment and Materials Used in Pressure Testing
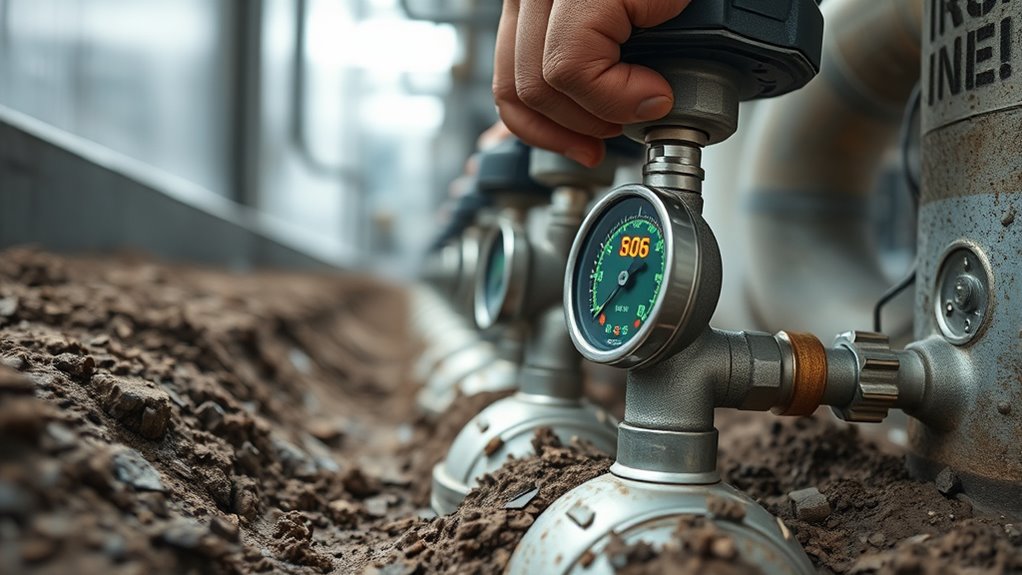
When performing pressure testing, having the right equipment and materials is vital for accurate results and safety. You’ll need a pressure gauge to monitor pressure levels precisely. A pump or compressor is necessary to introduce air or water into the system, allowing you to build pressure. Connectors, such as hoses and fittings, guarantee secure attachment to the plumbing system. A pressure relief valve helps prevent over-pressurization, protecting both you and the equipment. You may also require a test tee to isolate sections of the piping. Additionally, durable sealing materials like pipe plugs or clamps are essential to secure openings during testing. Using high-quality, compatible tools ensures reliable pressure readings and minimizes the risk of accidents, making your leak detection process safer and more effective. Incorporating proper safety precautions is also crucial to prevent accidents during pressure testing. Being familiar with pressure ratios helps in understanding the safe limits for testing different pipe materials and conditions. Understanding system pressure capacity is important to avoid exceeding recommended pressure levels and causing damage. Selecting the correct testing method based on pipe material and system requirements can significantly improve detection accuracy. To enhance safety and accuracy, employing pressure testing procedures that follow industry standards is highly recommended.
Signs Indicating a Possible Underground Leak

Underground leaks can be tricky to detect, but certain signs can alert you to their presence. You might notice unexpectedly high water bills, which suggest water is escaping somewhere unseen. Soft, damp spots or lush patches in your yard that stay green even during dry weather can indicate underground leakage. Unusual sounds, like hissing or running water, may also be clues. Additionally, if your water pressure drops suddenly or fluctuates, it could signal a leak. Persistent musty odors or the appearance of mold near your foundation can point to hidden moisture. Cracks in your basement walls or floors might be caused by water seepage. Recognizing these signs early helps prevent extensive damage and prompts you to contemplate pressure testing for confirmation.
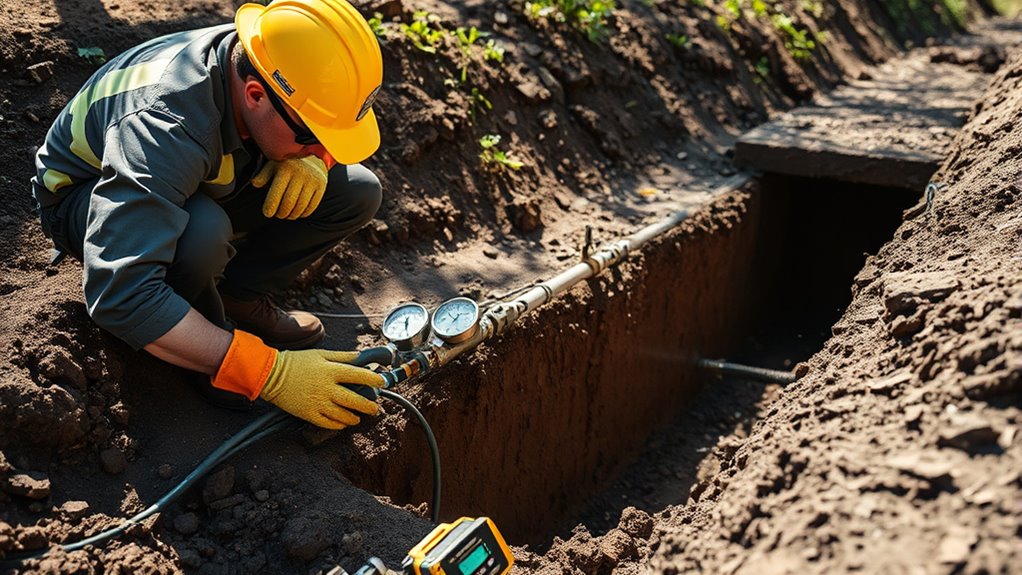
Step-by-Step Guide to Conducting a Pressure Test
Performing a pressure test is an effective way to confirm the presence of a leak in your plumbing system. First, shut off your main water supply and drain the system to remove air. Next, attach a pressure gauge to a test point, such as a hose bib or valve. Pressurize the system with air or water, depending on your setup. Maintain the pressure for 15-30 minutes, observing any drops. Use the table below to track your readings:
| Step | Action | Key Tip |
|---|---|---|
| 1. Preparation | Shut off water, drain system | Ensure no water is flowing during test |
| 2. Connection | Attach gauge securely | Check for leaks at connection points |
| 3. Pressurize | Add air or water to reach desired PSI | Do not exceed recommended pressure |
| 4. Monitoring | Observe pressure stability | Record any pressure drops |
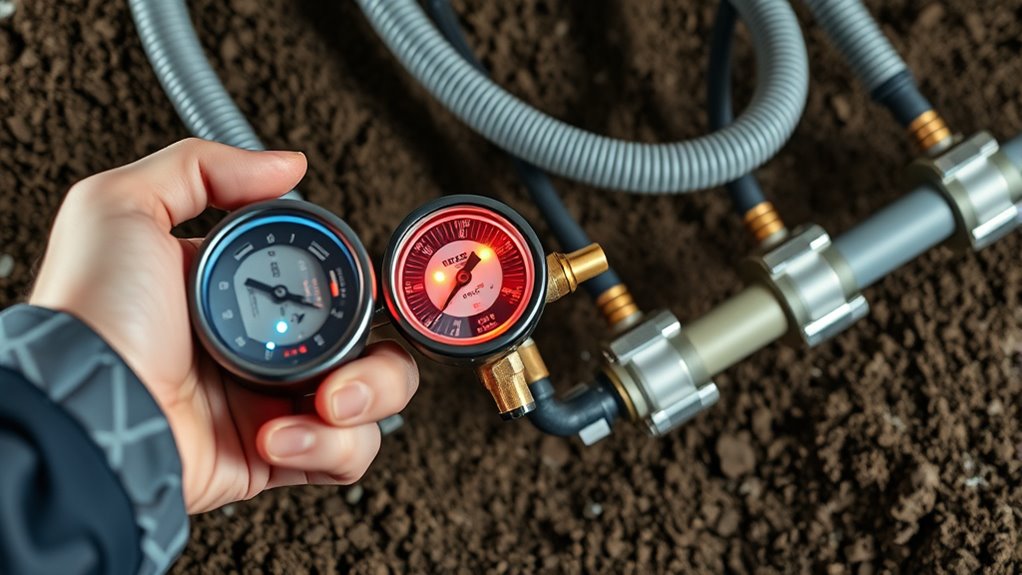
Additionally, pressure gauges can help you accurately monitor fluctuations during the test.
Interpreting Results and Next Steps After Testing
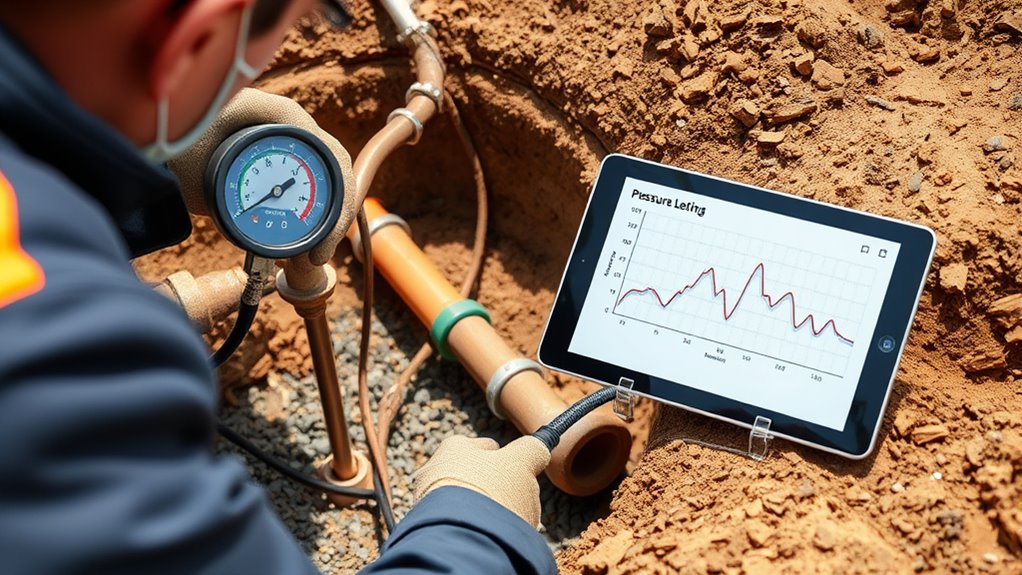
After completing the pressure test, the key step is to carefully interpret the results to determine if your plumbing system has a leak. If the pressure remains steady over the testing period, it suggests there’s no significant leak, and your system is likely intact. However, if the pressure drops noticeably, it indicates a leak somewhere in the system. Next, locate the leak by listening for hissing sounds, inspecting accessible pipes, or using leak detection tools. If you can’t find the source, consider consulting a professional plumber for advanced diagnostics. Remember, small pressure drops might be normal due to minor system adjustments, but signs of spoilage and the presence of mold can sometimes be mistaken for leaks, so be sure to verify the cause of any pressure fluctuation. Also, understanding pressure testing techniques can help you better interpret the results and ensure accurate detection. Familiarity with pressure loss patterns can guide you in pinpointing the leak more efficiently. Recognizing common leak locations can also expedite the diagnostic process. Additionally, considering the impact on water conservation can motivate timely repairs to reduce water wastage. Acting quickly helps preserve your plumbing and avoid costly repairs.
Frequently Asked Questions
How Long Should a Pressure Test Be Maintained for Accurate Results?
You should maintain the pressure test for at least 15 minutes to ensure accurate results. During this time, monitor the pressure gauge closely; if it drops considerably, it indicates a leak. Sometimes, extending the test to 30 minutes or more helps confirm the leak’s location, especially in complex systems. Consistent pressure over the duration proves your underground plumbing is leak-free or highlights areas needing repair.
What Are Common Causes of False Positives in Pressure Testing?
When testing for leaks, false positives can occur due to several factors. You might encounter this if the system isn’t properly sealed, allowing air or water to escape and falsely suggest a leak. Temperature fluctuations can also cause pressure changes, making it seem like there’s a leak when there isn’t. Additionally, faulty pressure gauges or improper testing procedures can lead to inaccurate readings, so verify your equipment and methods are correct.
Can Pressure Testing Damage Existing Plumbing Systems?
You might wonder if pressure testing can harm your plumbing. Yes, if performed improperly, it can cause damage like pipe bursts or joint failures. Applying too much pressure or testing for too long stresses the system. To avoid this, guarantee a professional conducts the test using appropriate pressure levels and duration. Properly done, pressure testing safely identifies leaks without damaging your plumbing system.
How Often Should Underground Plumbing Be Pressure Tested?
Did you know that regular plumbing inspections can reduce costly repairs by up to 50%? You should pressure test your underground plumbing at least every 2 to 3 years, especially if you live in an area prone to soil shifts or extreme weather. This routine helps catch leaks early, saving you money and preventing potential damage. Stay proactive to keep your plumbing system in top shape and avoid unexpected issues.
Are There Alternative Methods to Detect Underground Leaks Besides Pressure Testing?
You want to know if there are other ways to find underground leaks besides pressure testing. Yes, you can use methods like listening for leak sounds with electronic leak detection devices, using thermal imaging to spot temperature changes, or employing tracer gas techniques where a harmless gas is introduced and detected at leak points. These alternatives can be effective, especially when pressure testing isn’t practical or conclusive.
Conclusion
By mastering pressure testing, you can catch underground plumbing leaks early and prevent costly damages. Did you know that up to 15% of water loss in residential systems is due to leaks? Regular testing not only saves water but also extends your plumbing’s lifespan. Stay vigilant, follow the proper steps, and interpret your results carefully. Taking these precautions guarantees your plumbing stays efficient, saving you money and peace of mind in the long run.